

Lighting Bible: Creating a Dark Atmosphere through Shadow and Light

Lighting Bible
— Creating a dark atmosphere through shadow and lighting —
@HACOSTADIUM cosset Ikebukuro Main Store - Iron Bar Prison
We conducted a photoshoot using Nissin flashes at HACOSTADIUM, a cosplay amusement space where you can take photos in various settings!In this series, we will introduce the photos we took and the techniques used to capture them.
This time, we will feature photos taken in the Iron Bar Prison at HACOSTADIUM cosset Ikebukuro Main Store.
▼ Click here for this session's photos! ▼
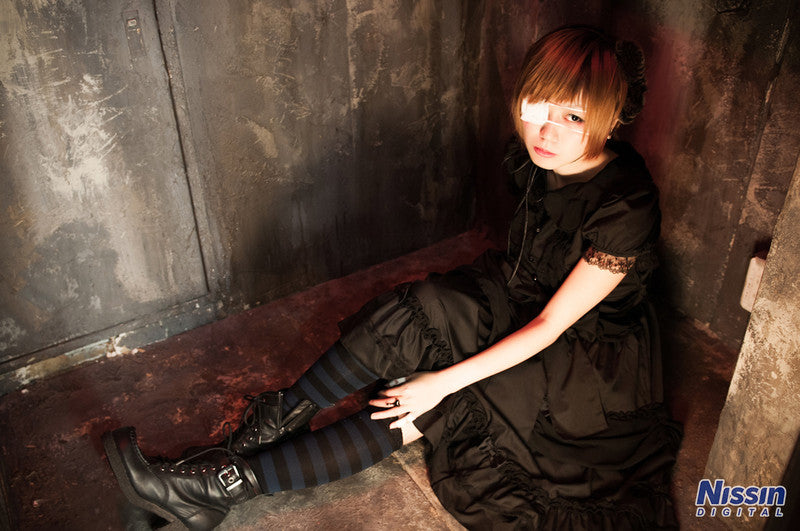
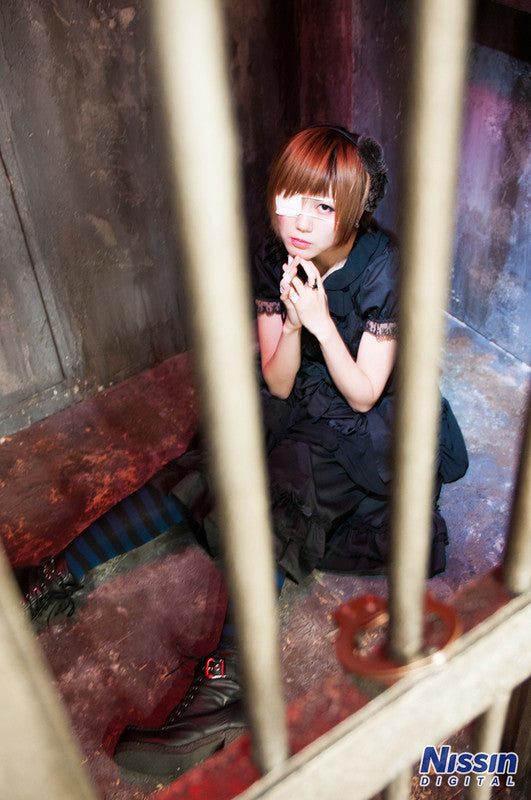
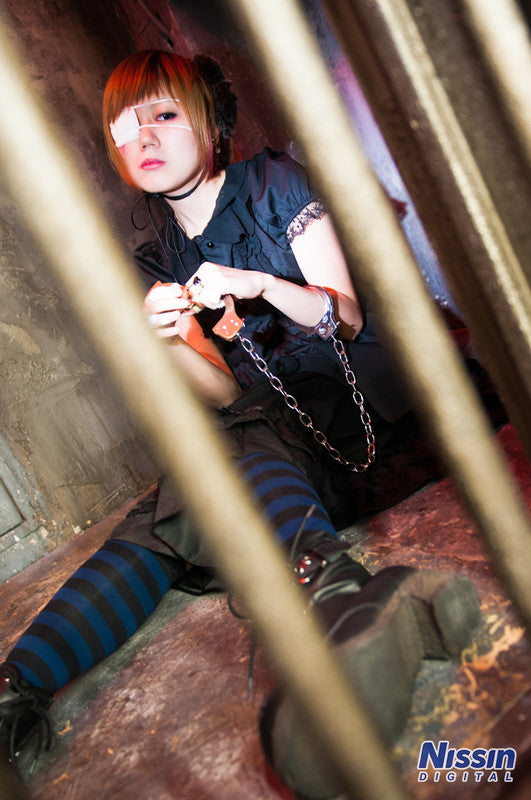
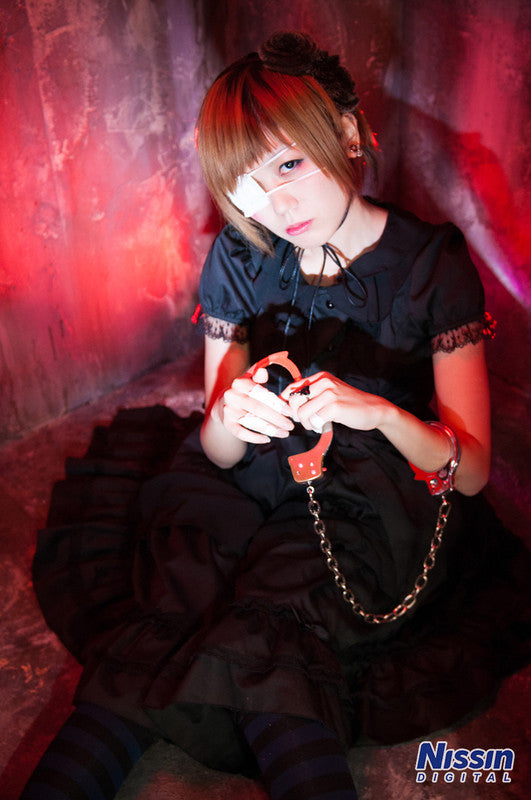 Model: Meta / Photographer: Ai Ehara
This time, the photos feature a dark atmosphere inside an iron bar prison. While lighting the model’s face beautifully, we used shadows to create a dark, moody effect.
Let’s take a look at the shooting method!
* The photos for this session were taken before the booth was renovated.Please note that the booth now has a brighter, white-toned appearance due to the renovation.http
First, let’s explain how this photo was taken.The Iron Bar Prison booth has a single red light inside the cell.There is no standard lighting inside the cell, only light coming in from the outside.
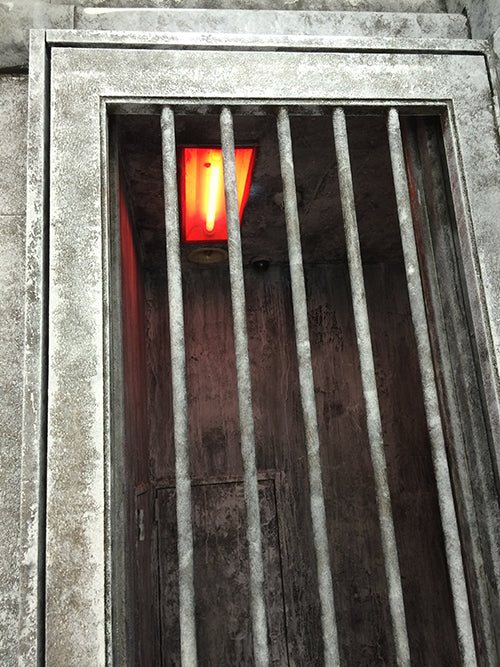
 If you shoot using only the ambient light, the light coming from outside may not hit the subject well depending on their position, making the shot too dark or conversely, too bright... it’s a somewhat tricky booth to set up.That is exactly when a flash comes in handy!
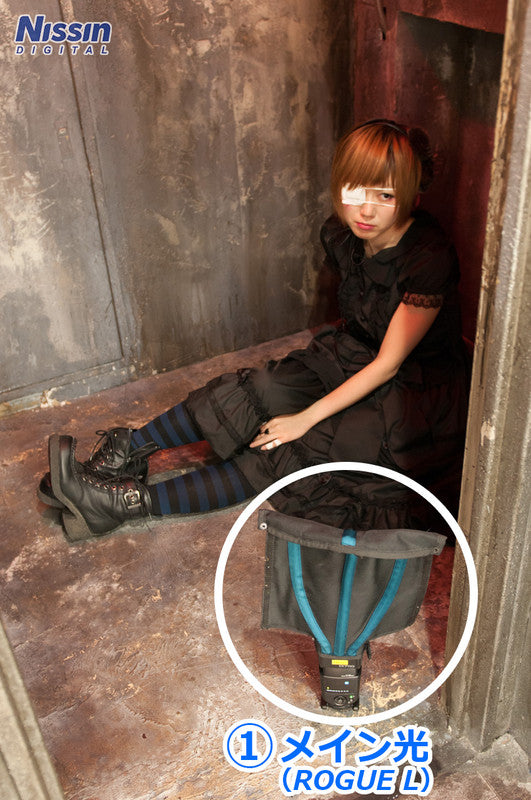 We used one flash unit.
(1) Di700A + ROGUE FlashBender2 Softbox L + Color Filter (Amber)
The flash equipped with the ROGUE Softbox was placed on the floor in front of the model.We used the mini-stand included with the Di700A to make it stand on its own.
Normally, to light a subject naturally, you would position the flash so the light hits from above, but this time we intentionally placed it to light from below to create a spooky atmosphere.We also added an amber (orange) color filter to evoke the mood of candlelight.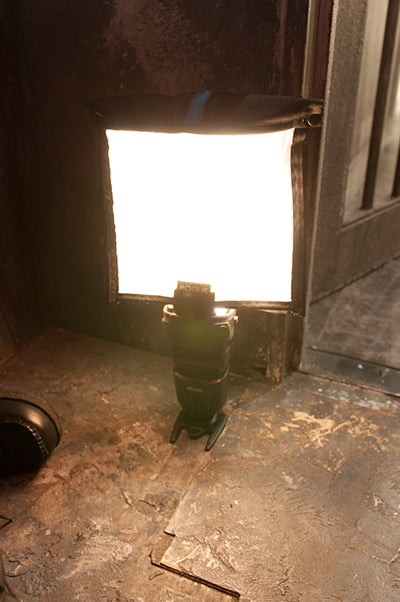 ROGUE FlashBender2 Softbox L + Color Filter
ROGUE FlashBender2 Softbox L + Color Filter
Lighting from below is often called "ghost lighting" and is usually avoided, but it is an effective technique when you want to intentionally create an unnatural look.
Also, the camera exposure was set to pick up the ambient light in order to preserve the color of the red lights on the ceiling.[ Exposure Settings: ISO 800 / Aperture f/2.8 / Shutter Speed 1/25 sec ]If the exposure is set in a way that doesn't capture the ambient light, the red tones unique to this booth won't show up. In that case, increase the exposure. You can check how much of the color is showing by shooting with ambient light only, without the flash.Shooting Method (2)
We lit this shot to look as if a small amount of daylight is streaming in through a tiny window.
The lighting method is as follows.
The lighting method is as follows.
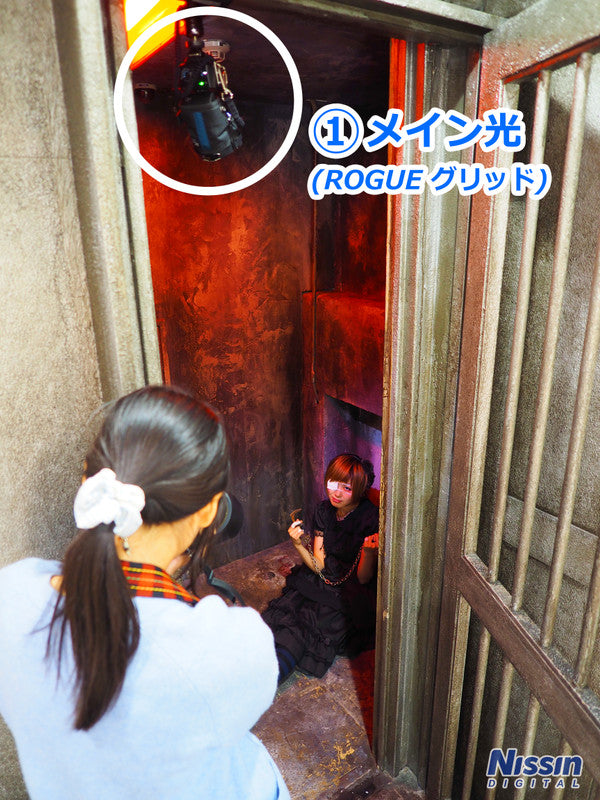
(1) i40 + ROGUE Grid
The i40 equipped with a ROGUE Grid is attached to the door with a clip.
Since it is placed in a high position, smaller and lighter flashes like the i40 or i60A are recommended.
The i40 is set to optical slave mode, triggered by a flash attached to the camera, which is fired weakly and directed toward the ceiling.
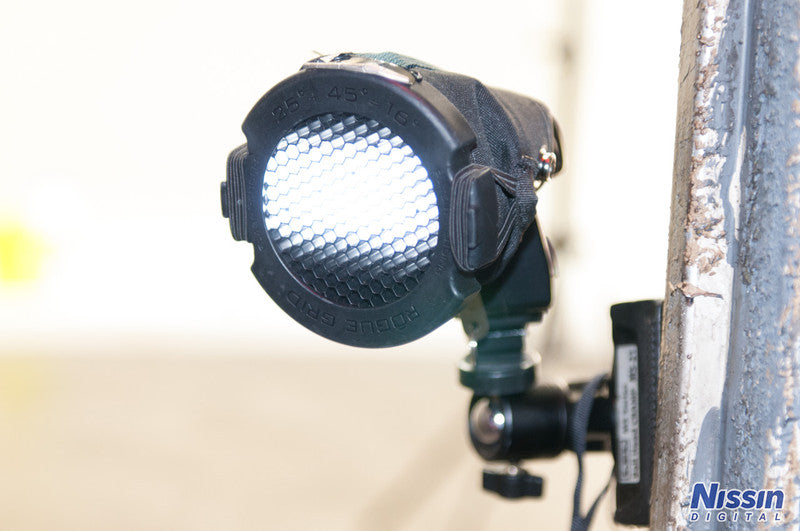 When you attach a grid, the light does not spread, allowing you to create a spotlight effect.
Use this when you want to hit only a specific part with light.
It is an essential item when you want to create shadows or avoid light spilling everywhere!* When using a clip, be careful not to damage the set!
While we used exposure settings to make the most of the red ceiling lights, adding one more flash is also recommended if you want to make the colors even more intense.
We kept the main light as is and added one accent light.
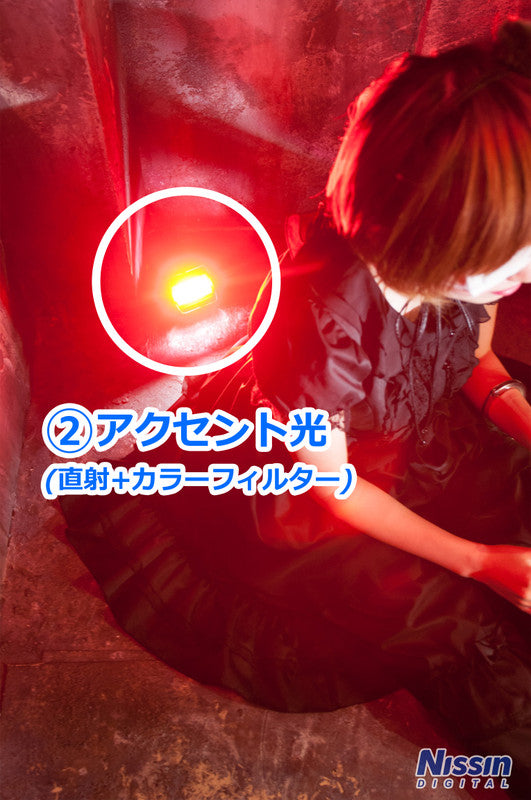 (2) Di700A (Direct) + Color Filter (Red)
The flash was placed directly on the floor behind the model, angled upward to hit the surrounding walls and the model's back.
Because it is a small booth, the red light reflecting off the walls creates deep, rich tones in the shadows.
By adding color, we were able to create a darker and more suspicious atmosphere.
The location for this shoot was the Iron Bar Prison at HACOSTADIUM cosset Ikebukuro Main Store.When shooting with ambient light, exposure settings are crucial. It is best to grasp how to set exposure manually and understand the characteristics of each setting item.
As you slow down the shutter speed to increase the influence of ambient light, there is a risk of camera shake, so be careful to keep your camera steady!Photography/Writing: Ai Ehara
(2019/11/25)
Shooting Data[Camera Settings]
ISO 800Aperture: f/2.8
Shutter Speed: 1/25[Photography Equipment List]
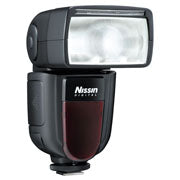 Di700ADirect/Selected Retailer Exclusive Model Guide Number 54 (200mm), 28 (35mm) *ISO100
Newly equipped with a Radio Wireless TTL System (NAS) for simple and quick operation. TTL flash for digital SLR cameras. For Canon / Nikon / Sony / Fujifilm / Four Thirds.
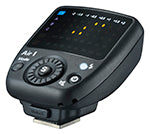 Air1* Discontinued Model (Successor: Air10s) Compliant with NAS (Nissin Air System). Commander exclusively for radio wireless communication systems. For Canon / Nikon / Sony / Fujifilm / Four Thirds.
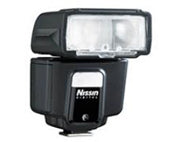 i40Direct/Selected Retailer Exclusive Model Guide Number 40 (105mm), 27 (35mm) *ISO100
Achieves the highest light output in its class despite its compact size. Features "3 Wireless Modes" (Digital Slave, Analog Slave, Wireless TTL System). TTL flash for digital SLR cameras. For Canon / Nikon / Sony / Fujifilm / Four Thirds.
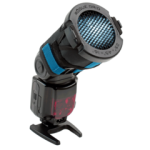 ROGUE Grid <Recommended Third-Party Accessory>
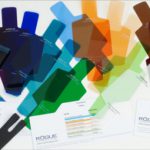 ROGUE Universal Filter Kit <Recommended Third-Party Accessory>
Photography/Production
Nissin Digital
Photography Cooperation
HACOSTADIUM cosset Ikebukuro Main Store
HACOSTADIUM cosset Ikebukuro Main Store