

"Hacostadium Lighting Bible" Vol. 2: Classroom Edition
 This time, Nissin Japan visited the cosplay amusement spaces"HACOSTADIUM OSAKA" and "HACOSTADIUM cosset Osaka Nipponbashi"!
 For this installment, we conducted a shoot using Nissin strobes at Hacostadium, where you can take photos in a variety of situations!
I would like to introduce the photos we took and the techniques used to shoot them in a series.
For this second installment, I will introduce photos taken in the 3F Classroom at "HACOSTADIUM OSAKA".
▼Check out the photos here!▼
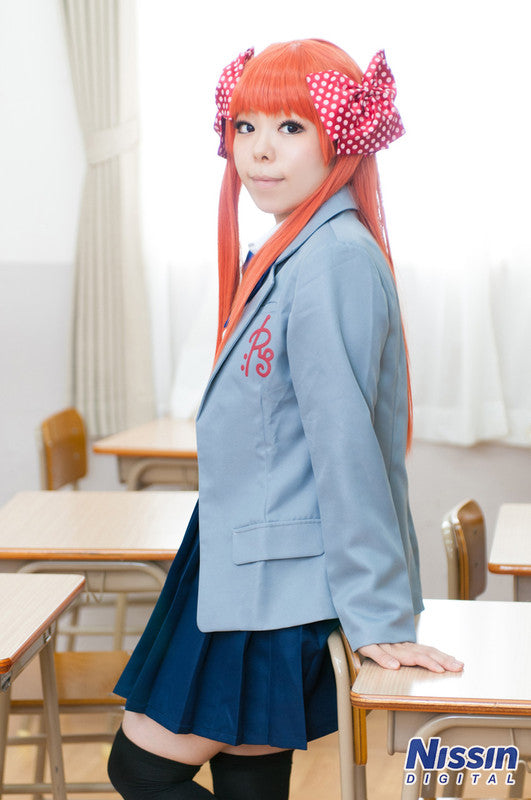
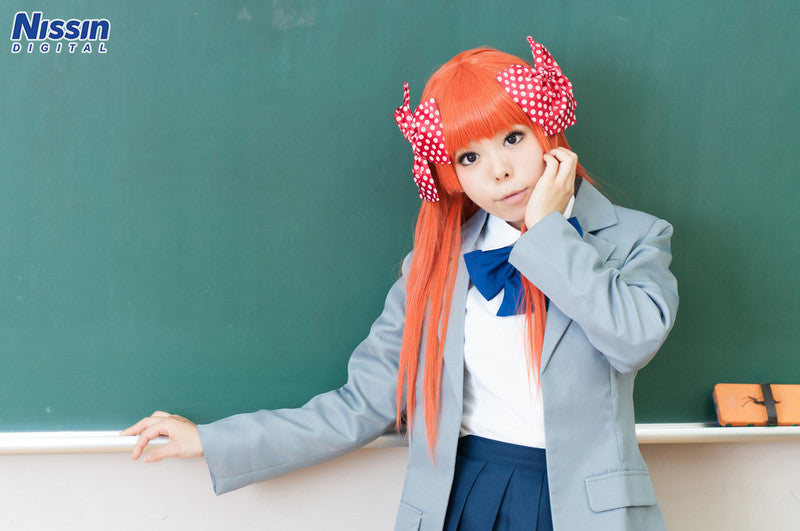
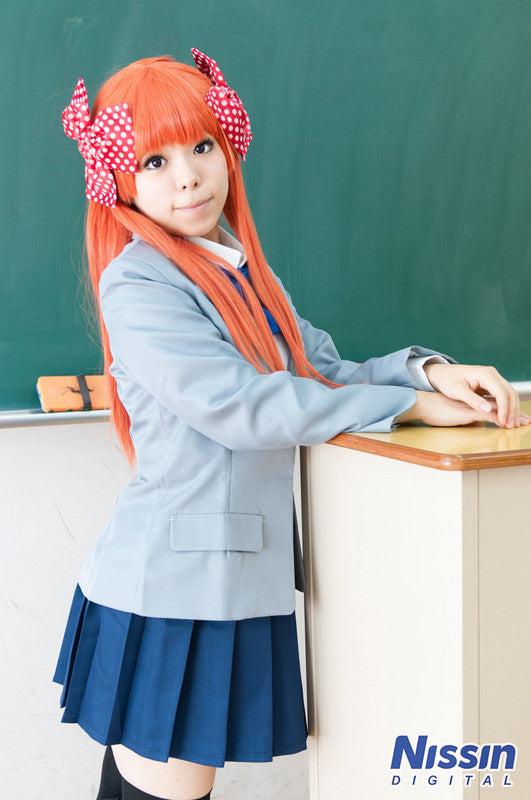 Model: Ibuki Photo: Ai Ehara
(Click images to enlarge)
Since the setting is a school classroom this time, the lighting is natural and appropriate for the environment.
The only equipment used is the i40! We didn't even use a stand this time.
There are lighting setups that can be done with just one strobe, so you can easily copy these techniques.
Shooting Method (1)
I will explain starting with the first photo, taken with the window behind the model. The image is that of a natural daytime classroom scene, with bright light streaming in from the window behind.
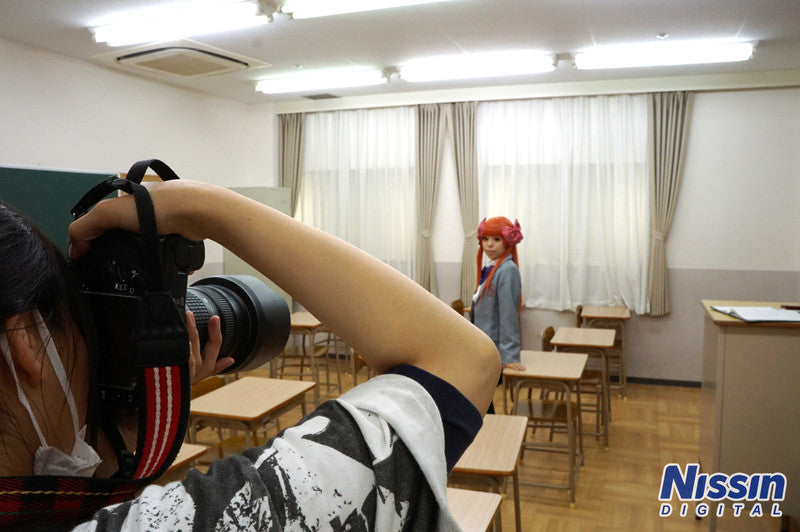 (Shot with constant lighting only)
Outside the window of this classroom isn't actually the outdoors; there is a wall belonging to another space.
Therefore, if you shoot using only the room's ambient light, the area outside the window isn't very bright, and there's no sense of sunlight pouring in.
So, we create artificial sunlight using strobes!
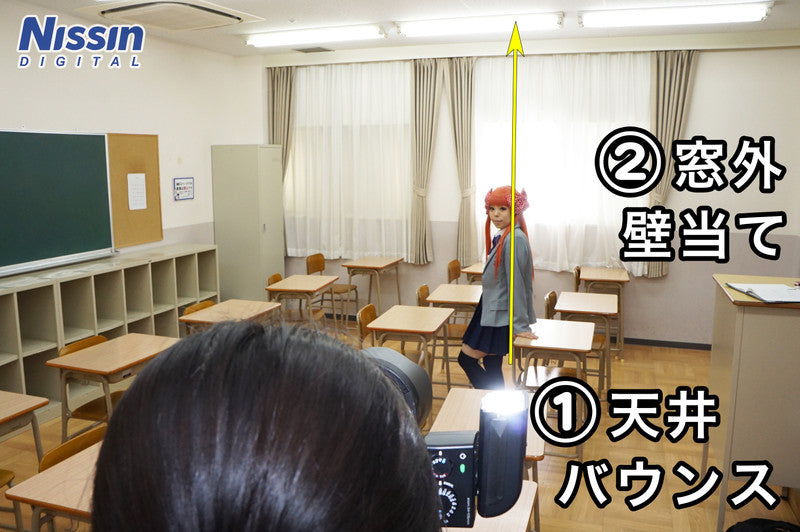 We used two strobes.
 [Lighting Data]
(1) i40 On-camera ceiling bounce, power 1/4
(2) i40 Wide panel, bounced off the wall outside the window, power 1/4, SF (Analog Slave) mode(1) is attached to the camera (on-camera) with the head pointed upward to bounce off the ceiling.
Since the ceiling in this classroom is white, this alone allows for a clean shot.
It serves both as a main light to brighten the face and as a trigger to synchronize strobe (2).
Next, for light (2): when you open the window, there is a narrow space between it and the wall. I placed the i40 there using the included stand, set it to optical slave (SF) mode, and fired it toward the wall.
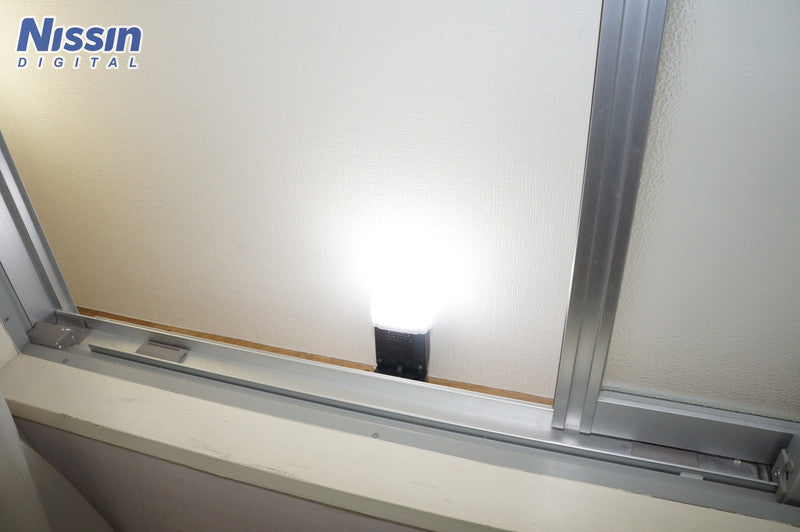 The i40 is so small that it fits in such a tight space.
 The fact that its small size lets you tuck it away in various places is one of the i40's strengths!
Place the i40 outside the window facing the wall, then close the window and curtains.
With just this, you can create the effect of daytime sunlight.
If the light intensity from the window is too strong, it will cause flare, so be sure to adjust it by lowering the power.
Believe it or not... this is all there is to the shooting method for the first photo! It's simple, isn't it? You can copy it right away.
By the way, with a little ingenuity, you can use this lighting for an advanced application.
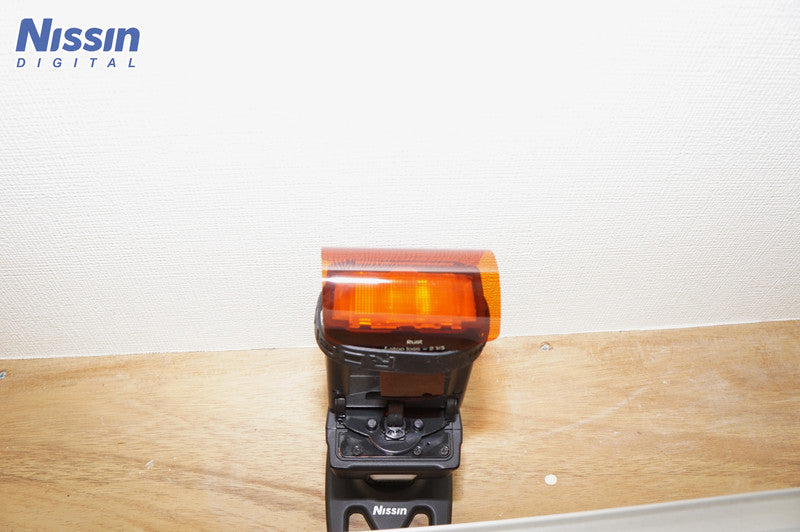 As shown in the image, attach an orange color filter to the i40 outside the window.
 Then...
The daytime classroom scene transforms into an evening scene!
▼other cut▼
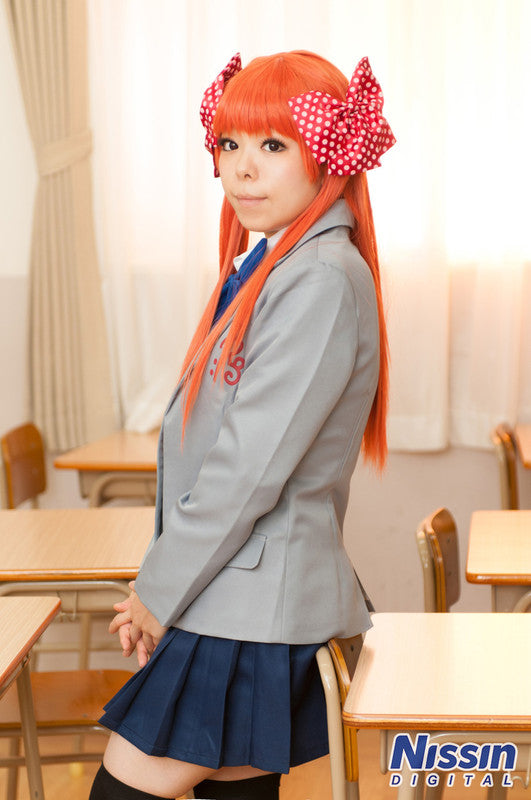
It's a small touch, but it really changes the atmosphere, doesn't it?
If you also lower the power of the i40 outside the window slightly, it creates an even more convincing evening mood.
Rather than leaving the image as shot, adjusting the white balance or image processing later to lean towards amber (orange) will enhance the mood further.
Please try adjusting it to your liking.
If you also lower the power of the i40 outside the window slightly, it creates an even more convincing evening mood.
Rather than leaving the image as shot, adjusting the white balance or image processing later to lean towards amber (orange) will enhance the mood further.
Please try adjusting it to your liking.
Shooting Method (2)
Next, I would like to explain the shooting method for the photos in front of the chalkboard. The method for these two photos in front of the chalkboard is basically the same; it's very simple and easy.
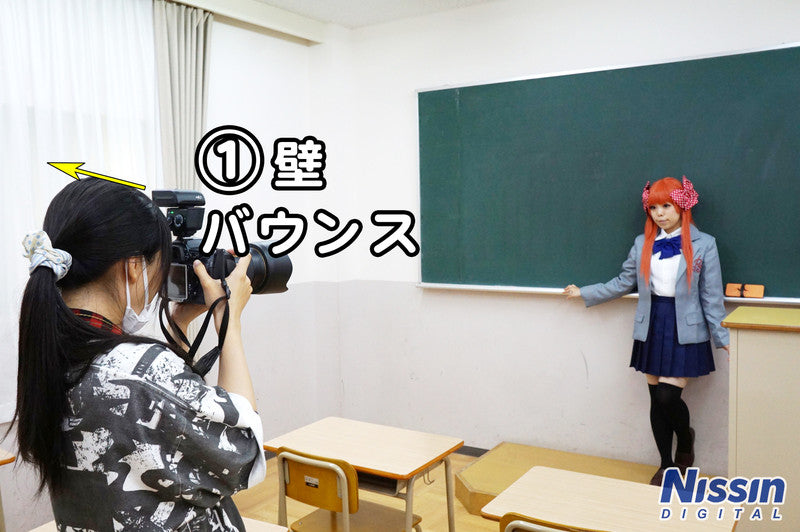 [Lighting Data]
(1) i40 On-camera wall bounce, power 1/2 to 1/4With the i40 on-camera, point the head to the side to bounce the light off the wall.
The bottom half of the wall is gray, but since the upper half and the ceiling are white, the light spreads beautifully just by bouncing it.
...And that's it! Actually, the lighting theme for the first, second, and third photos is the same: "lighting in the style of natural light entering through a window."
In most Japanese classrooms, there is a window on the left side from the perspective of a student sitting at their desk, so light from the left feels natural.
Therefore, wall bouncing from the left wall is recommended.
▼other cut▼
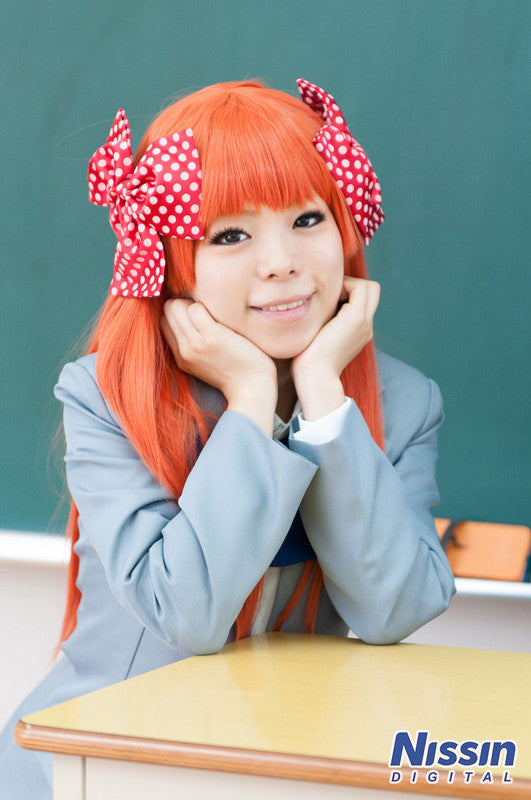
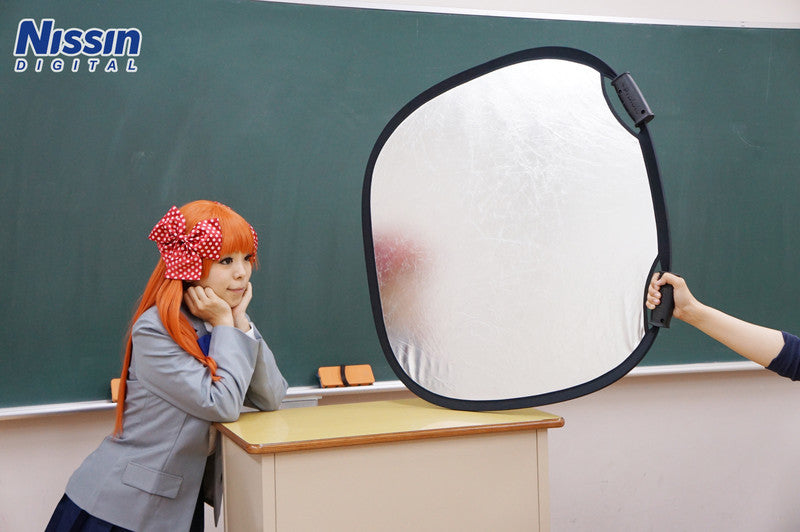 Hacostadium allows you to borrow reflectors for free, so you can rest easy!
 The location we shot at this time was the school classroom at "HACOSTADIUM OSAKA".
While it is by no means elaborate lighting, it is easily achievable with minimal equipment, so I think even strobe beginners can copy it immediately.
Ceiling bounce and wall bounce are convenient lighting techniques that can be applied in various places, provided there is a white ceiling or wall.
Using a strobe rather than shooting with constant light results in more vivid, beautiful colors.
Please enjoy your photography using a clip-on strobe! (Shot/Written 2014/10/27: Ai Ehara)
Shooting Data
[Camera Settings]
・1st photo
・1st photo
ISO 400
Aperture F 3.2
Shutter Speed 1/160
・2nd and 3rd photos
・2nd and 3rd photos
ISO 400
Aperture F 2.8-3.2
Shutter Speed 1/200
[Shooting Equipment List]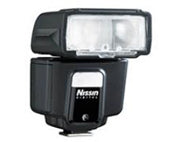 i40Direct sales/Specialty store exclusive model Guide number 40 (105mm), 27 (35mm) *ISO100
 Achieves the highest power in its class despite its compact size. Features "3 Wireless Modes": Digital Slave, Analog Slave, and Wireless TTL system. TTL strobe for digital SLR cameras. For Canon/Nikon/Sony/Fujifilm/Four Thirds.
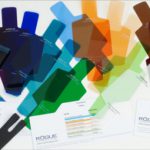 ROGUE Universal Filter Kit<Recommended third-party accessory>
Photography/Production
Nissin Digital
Cooperation
HACOSTADIUM OSAKAHACOSTADIUM cosset Osaka Nipponbashi