

"HACOSTADIUM Lighting Bible" Part 6: Casual Restaurant Edition
 Hacostadium Lighting Bible
Vol. 6: Casual Restaurant Edition
Nissin Japan visited the cosplay amusement spaces "HACOSTADIUM OSAKA", "HACOSTADIUM cosset Osaka Nipponbashi", and "HACOSTADIUM cosset Ikebukuro Main Store"!We conducted a photoshoot using Nissin strobes at Hacostadium, which offers a variety of shooting scenarios!
In this series, we will introduce the photos taken and the methods used to capture them.
For Vol. 6, we will present photos taken at the Casual Restaurant set at HACOSTADIUM cosset Osaka Nipponbashi.
▼Check out the photos from this session!▼
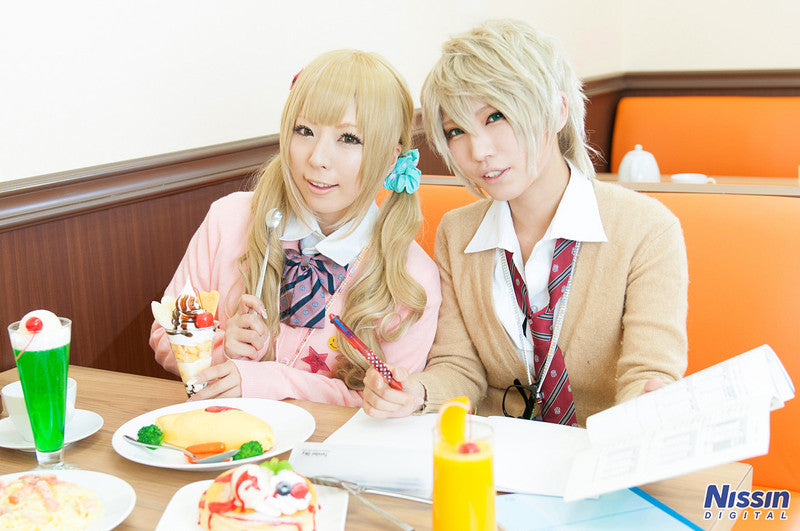
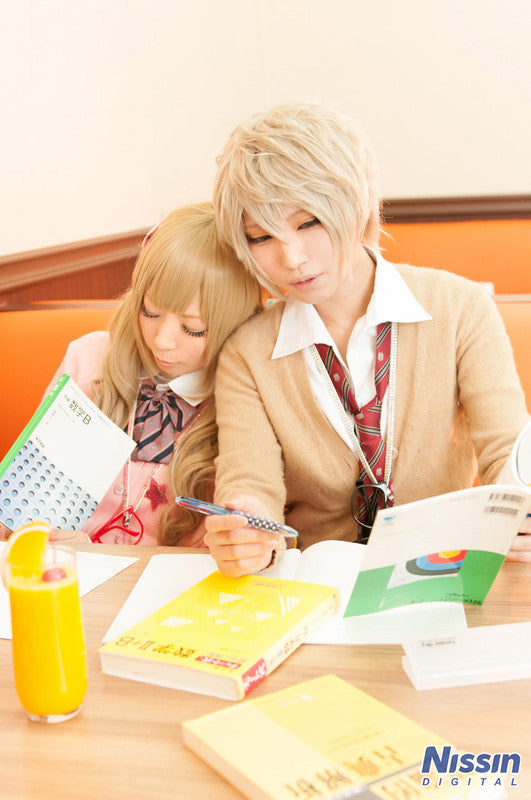 Models: Kokona-san, Aine-san Photography: Ai Ehara
I aimed for lighting that evokes a bright atmosphere, as if natural light were coming from outside.
The second photo captures a scene where the day has ended, and they’ve fallen asleep out of boredom while studying for exams.
The sunset-like color tone is already familiar to those of you who have read past articles.
Now, let's look at the lighting!
Photography Method
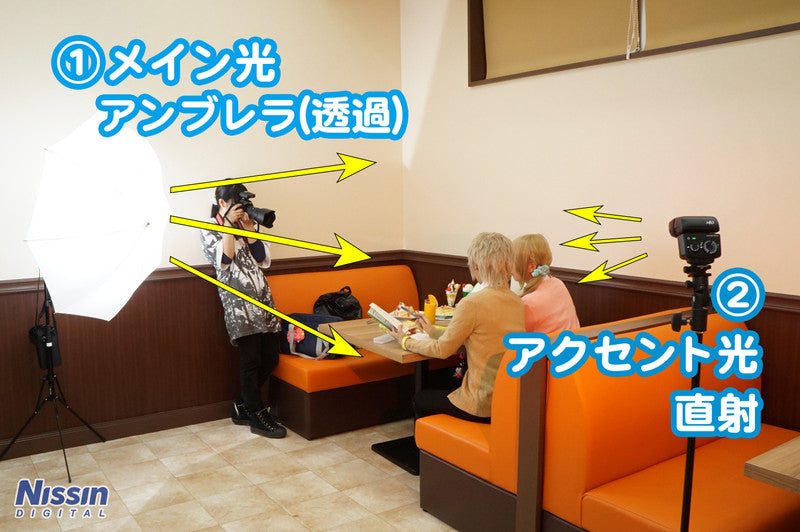 Two strobes are used.
(1) Main Light: Di700 with Umbrella (Translucent), Wide Panel, Power 1/16
(2) Accent Light: i40, direct, Power 1/32
Just like in the Vol. 4 Ball Pool edition, a translucent umbrella is used for the main light, positioned from the front.
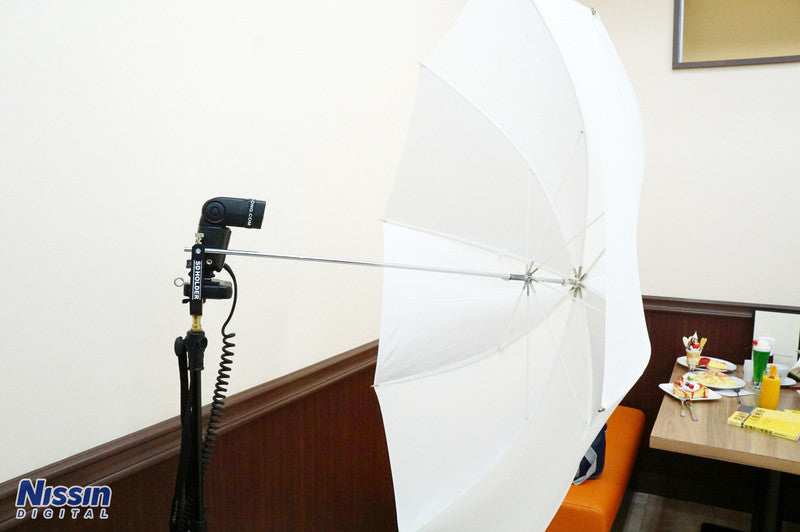 The outside of the umbrella is pointed toward the subject, and the light passes through it to illuminate the scene.
This creates a soft, bright quality of light. To ensure the light fills the umbrella well, I used the wide panel to broaden the strobe’s coverage (the range of the light).
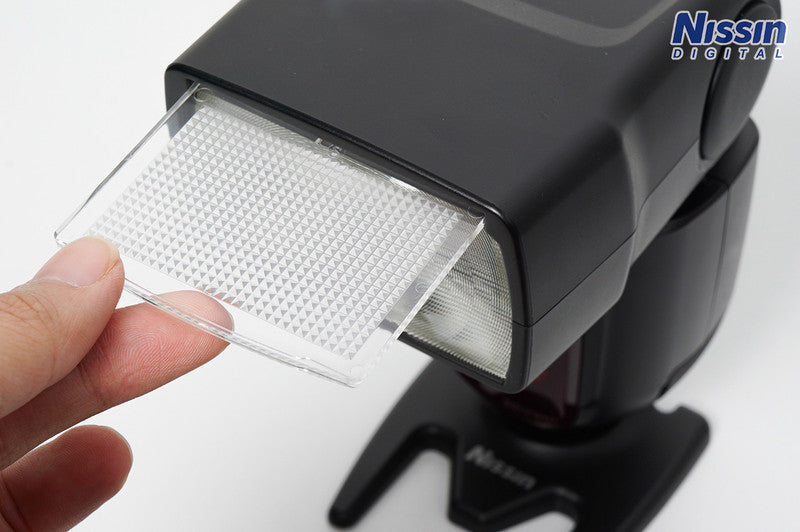 The wide panel is pulled out from the top. (On the i40, it is located on the bottom.)
For the (2) accent light, one i40 is placed behind the models, firing directly.
This light is intended to simulate daylight coming through a window.
This light is intended to simulate daylight coming through a window.
Even though it is direct light, by keeping the power low and moving it slightly further from the models, I’ve avoided making it look too harsh or glaring.
If an accent light like this looks too harsh, you can soften it by reducing the power, increasing the distance from the models, widening the strobe's zoom/coverage, or using light modifiers.
If an accent light like this looks too harsh, you can soften it by reducing the power, increasing the distance from the models, widening the strobe's zoom/coverage, or using light modifiers.
By the way...
Here is how it looks if taken in the same spot without strobes.
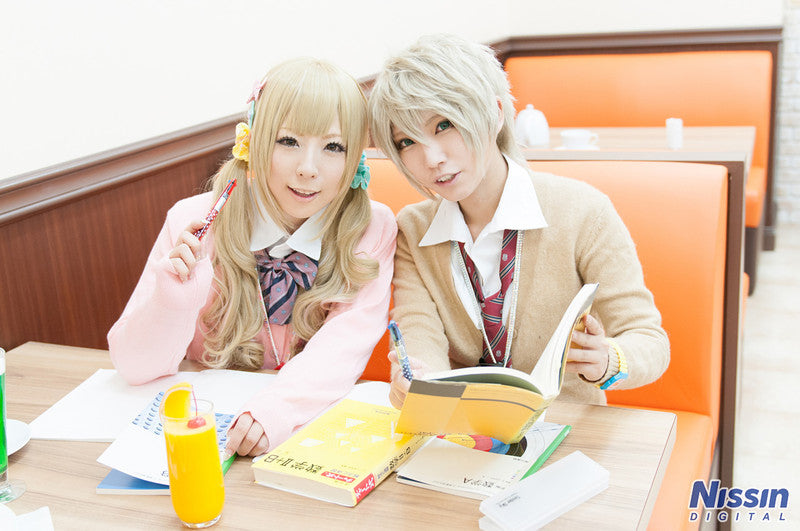 Shot using only indoor ambient light (Click the image to enlarge)
The light is flat, but I don't think it's necessarily bad.
Because the light is coming from the ceiling, shadows from the bangs appear on the faces, making them look a bit dark.
It doesn't affect the girl as much, but the boy's face is noticeably darker, suggesting that shadows tend to form more easily on voluminous hairstyles.
The image feels like it lacks depth and contrast; however, this set does receive natural light from the window during the day, so the atmosphere would likely change during those hours.
Since this shoot took place after sunset, it was done using only indoor light without external light.
Perhaps the biggest difference between the ambient light shot and the one with professional lighting is the presence of catchlights.
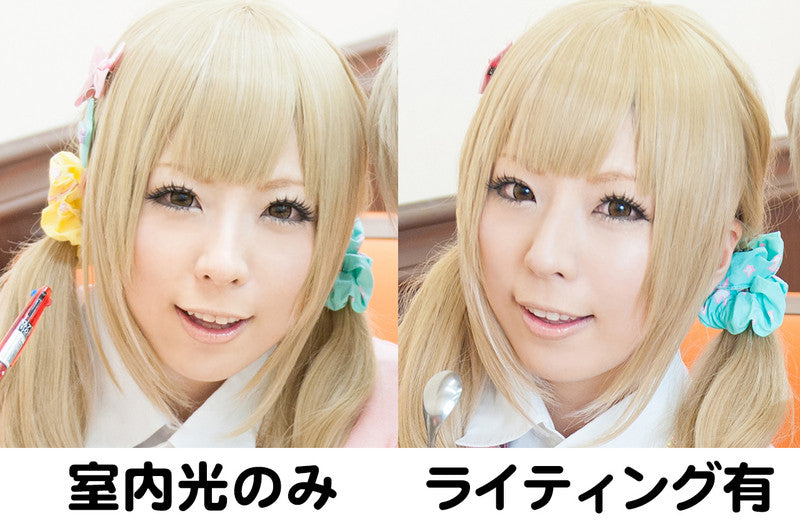 (Click the image to enlarge)
The sparkle in the eyes is the "catchlight." Can you see the difference?
There is almost none in the ambient light shot, but the photo with professional lighting shows clear, distinct catchlights.
Having catchlights makes the eyes look more vibrant and the expressions appear brighter!
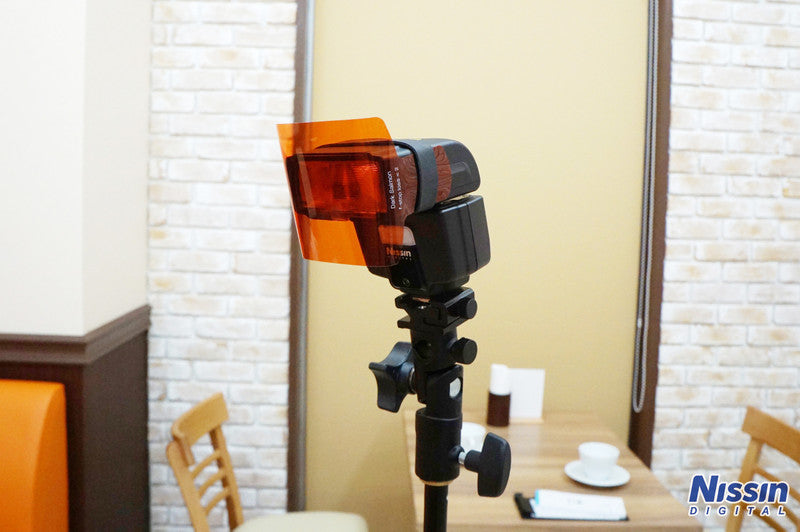 The settings for the main light and power remain the same as the first photo. This simple change gives it that sunset-like hue.
It's an easy way to change the mood of your photos, so please give it a try!
The location for this shoot was the casual restaurant set at HACOSTADIUM cosset Osaka Nipponbashi.
The main lighting hitting the models is simple, using only one light, but by using a large umbrella, I was able to achieve soft, bright results.
The softness of the light changes depending on the accessories you use.
If you remember that "larger light sources make for softer light" and "smaller light sources make for harder light," it will become much easier to understand how to craft your lighting.
Please try taking bright photos with sparkling eyes using your strobes♪
(2015/01/21 Photography/Text: Ai Ehara)
Shooting Data[Camera Settings]
ISO 400
Aperture: f/3.2
Shutter Speed: 1/160
[Lighting Data]
(1) Di700 with Umbrella (Translucent), Wide Panel, Power 1/16
(2) i40, direct, Power 1/32
Sunset-style photo:
(2) Used a filter from the ROGUE Universal Lighting Filter Kit (Color: Dark Salmon)
[List of Equipment]
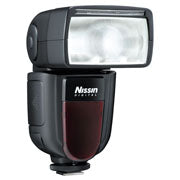 Di700ADirect sales/Authorized dealer exclusive model Guide Number 54 (200mm), 28 (35mm) *ISO100
Equipped with a new radio-controlled wireless TTL system (NAS) for simple and fast operation. TTL strobe for digital SLR cameras. For Canon/Nikon/Sony/Fujifilm/Four Thirds.
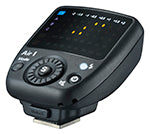 Air1*Discontinued model Compliant with NAS (Nissin Air System). Dedicated commander for radio-controlled wireless communication. For Canon/Nikon/Sony/Fujifilm/Four Thirds.
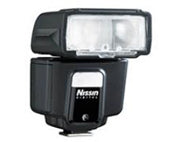 i40Direct sales/Authorized dealer exclusive model Guide Number 40 (105mm), 27 (35mm) *ISO100
Achieves the highest power in its class despite its small size. Features "3 wireless modes": digital slave, analog slave, and wireless TTL system. TTL strobe for digital SLR cameras. For Canon/Nikon/Sony/Fujifilm/Four Thirds.
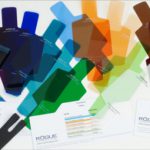 ROGUE Universal Lighting Filter Kit<Recommended third-party product>
Photography & Production
Nissin Digital
Photography Cooperation
HACOSTADIUM OSAKAHACOSTADIUM cosset Osaka Nipponbashi
HACOSTADIUM cosset Ikebukuro Main Store