MG10 Frequently Asked Questions (FAQ)
These are frequently asked questions and answers regarding the MG10. You can narrow down the question you are looking for using the search box at the top of the page. If your issue is not resolved, please contact us.
List of Questions (9 items)
- Which lithium-ion batteries have been verified for use with the MG10?
- Images look bluish when the zoom cover is removed.
- Can I use 16650 size batteries with a spacer in the MG10/MG8?
- Can I use an Air1 instead of an Air10s to control the MG series?
- Do the MG10/MG8/MG80 Pro have optical wireless system functionality?
- What is the shape of the external power port?
- Where is the microSD slot for firmware updates located?
- My MG10, MG8, or MG80 Pro shuts off suddenly.
- How to modify the bracket for Arca-Swiss compatibility
Q. Which lithium-ion batteries have been verified for use with the MG10?
Compatible models: MG10/MG8
Verified rechargeable batteries: KEEPPOWER 26650 Lithium-ion battery (with protection circuit) 5500mAh (P2655C) KEEPPOWER 26650 Lithium-ion battery (with protection circuit) 5200mAh (P2652C) KEEPPOWER 26650 Lithium-ion battery (with protection circuit) 4500mAh (P2645C) ※The 6000mAh (P2660C) is slightly thicker than other capacities, so it may not be physically insertable due to dimensional variations between manufacturing lots.
Verified chargers: XTAR MC4S USB Charger*1 (can charge two 26650 type batteries simultaneously at up to 1A) XTAR VC8 USB Charger*1 (can charge two 26650 type batteries at up to 2A, or four at up to 1A simultaneously) KEEPPOWER L2 Charger (can charge two 26650 type batteries simultaneously at up to 1A) ※For lithium-ion batteries only KEEPPOWER L4 Charger*2 (can charge two 26650 type batteries simultaneously at up to 2A) Miboxer C4-12 Charger (can charge four 26650 type batteries simultaneously at up to 3A)
*1 Requires a separate USB power adapter.
*2 Emits a beep when charging starts and finishes. The volume cannot be adjusted.
Q. Images look bluish when the zoom cover is removed.
Compatible models: MG10/MG8/MG80 Pro
Since the light emitted from the flash tube is bluish-white, color correction is generally performed using a Fresnel lens.
The MG series also uses a Fresnel lens for color correction; however, when the zoom cover is removed, you are effectively using the unit without the Fresnel lens, resulting in the natural color of the flash tube. If you shoot with the camera's white balance set to "Auto" or "Daylight" in this state, the images may appear bluish. In such cases, please perform a test shot beforehand and adjust the white balance manually.Q. Can I use 16650 size batteries with a spacer in the MG10/MG8?
Compatible models: MG10/MG8
Using batteries other than those recommended with spacers or similar attachments may trigger the battery's built-in protection circuit, rendering the battery unusable. Furthermore, it may prevent safety features, such as overheat protection, from functioning properly during an anomaly, which could lead to unit failure, fire, or injury. Always use the recommended battery size (26650).
Q. Can I use an Air1 instead of an Air10s to control the MG series?
Compatible models: MG10/MG8/MG80 Pro
Yes, it is possible.
However, there are many functional limitations.
Also, please note that among the communication channels 1–8, channel 1 is not compatible and cannot be used.
If the channel setting on the flash is set to "A" (Auto), communication may fail. In that case, please match the channel to the one set on the Air1.
Q. Do the MG10/MG8/MG80 Pro have optical wireless system functionality?
Compatible models: MG10/MG8/MG80 Pro
No, they do not.
The MG10/MG8/MG80 Pro are designed exclusively for radio wireless systems and do not feature optical wireless functionality.
Q. What is the shape of the external power port?
Compatible models: MG10/MG8
The external power port adopts the Sony standard. When using a power pack, please purchase the "Power Pack PS8 (for Sony)" or use a separately sold "Power Pack Cord (for Sony)."
Please note that we have not verified operation with Sony-brand external power sources (such as the FA-EBA1). To ensure optimal performance of this product, please use a Nissin Power Pack.
Q. Where is the microSD slot for firmware updates located?
Compatible models: MG10/MG8
For this and some other models, users can perform firmware updates themselves using a microSD card (with a capacity of 32GB or less).
Please download the latest firmware from each product information page.
Note that because it is located on the underside of the flash head and generally inaccessible from the outside, there is no cover for the slot. (We do not provide one separately.)
Q. My MG10, MG8, or MG80 Pro shuts off suddenly.
Compatible models: MG10, MG8, MG80 Pro
However, when the voltage of a protected lithium-ion battery has dropped to a certain level (when the remaining battery charge is low), and the unit is used under high power consumption conditions, such as continuous full-power flashes or full-power flashes while the modeling light is on, the protection circuit of the lithium-ion battery may occasionally trigger, causing the power to shut off before the pilot lamp turns yellow.
Because the protection circuit of the lithium-ion batteries verified by our company cuts off the battery output when triggered, the power will not turn on even if you press the power button again.
Once the protection circuit is triggered, you must insert the battery into a charger to reset the circuit before it can be used again.
Q. How to modify the bracket for Arca-Swiss compatibility
Compatible models: MG10/MG8
※Please perform modifications at your own risk.
※Please note that we will not be held responsible for any malfunction or damage to the product resulting from modifications.
Introduction
We have received the following feedback from customers using the MG10 and MG8:
- The bracket attached to the camera sometimes rotates.
- I want to attach/detach the bracket more easily.
- The unit feels unstable on a tripod when the bracket is attached.
- I want to use my own camera brackets or rigs.
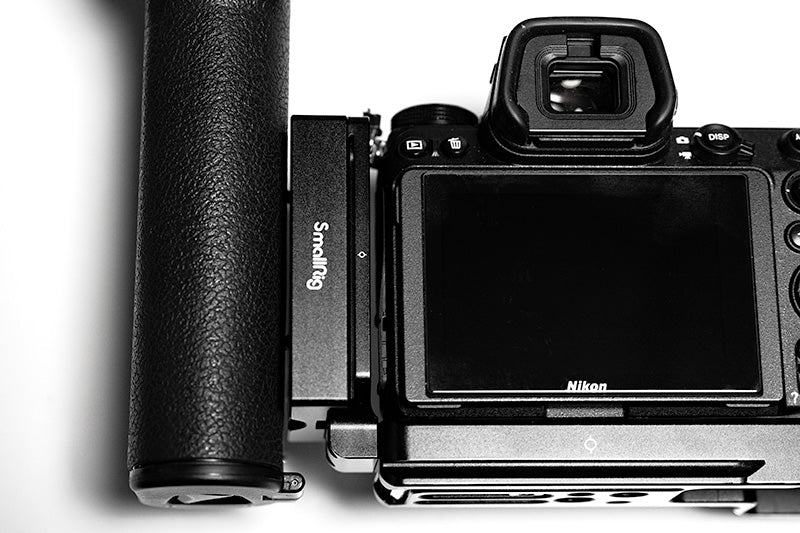
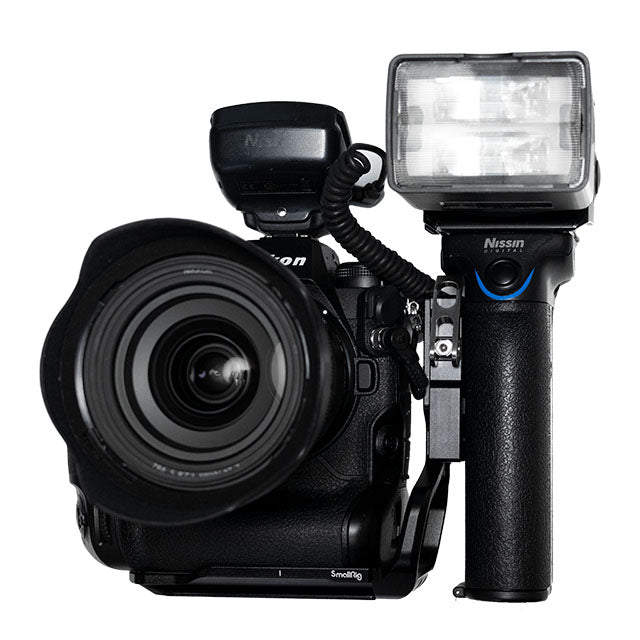
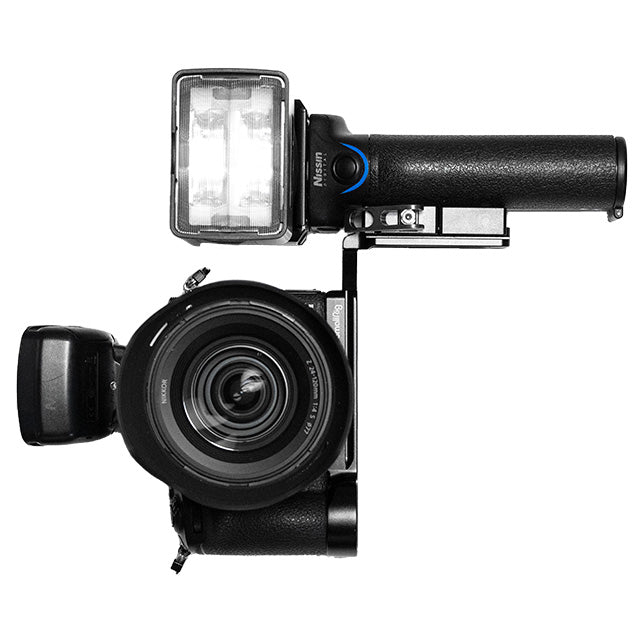
Since some customers have already mounted Arca-Swiss compatible clamps onto the MG10/MG8 grip, we have explored mounting methods, but had not previously found an easy way to do so.
We have now devised a method to attach a clamp easily and at low cost without any modification to the MG10/MG8 itself.
Please note that this modification method is not provided as a service by our company. This information is shared for reference only, and users who choose to modify their equipment do so at their own risk.
Required Items
- Arca-Swiss compatible clamp (must have holes for M4 screws on both ends and space to tighten the nut)
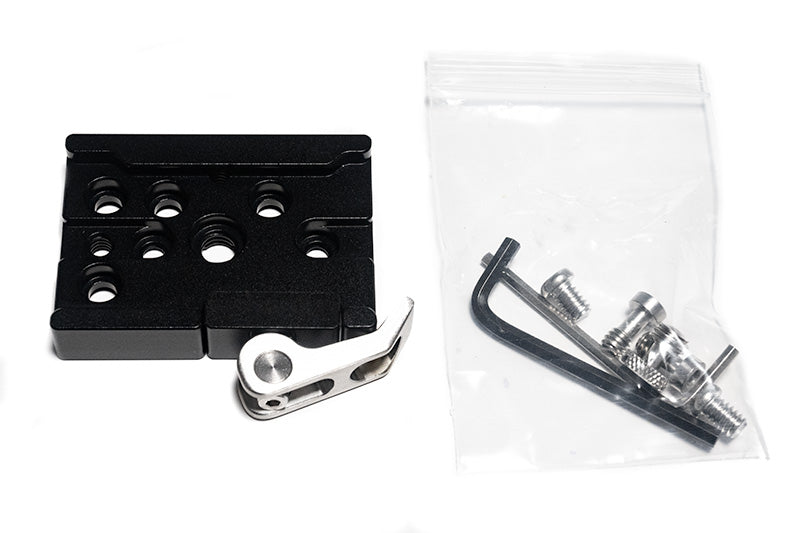
SmallRig Arca-Type Plate Clamp, Arca Quick Release Clamp-2143
- Two M4 countersunk screws and nuts (stainless steel is recommended to prevent corrosion)
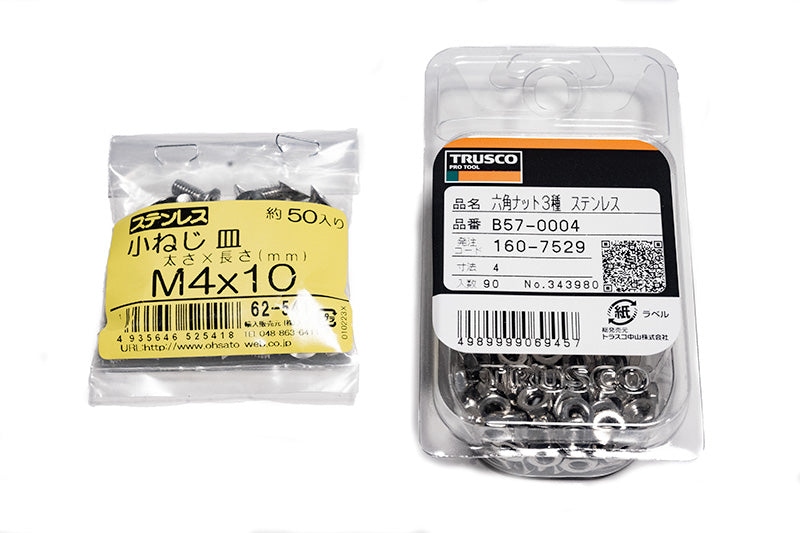
※Please note that if the item is out of stock at the links below, other items may be displayed.
Osato Stainless Steel Machine Screw, Countersunk Head 4mm x Length 10mm (50 pcs) (62541)
TRUSCO Hex Nut Type 3, Stainless Steel Size M4 x 0.7 (90 pcs) B57-0004
- Needle-nose pliers (a standard socket wrench cannot fit into the clamp body to turn the nut)
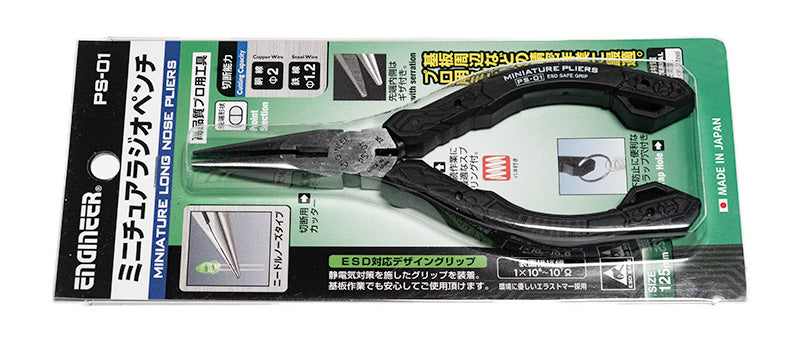
Engineer Miniature Needle-Nose Pliers ESD-safe 139mm PS-01
-
Arca-Swiss compatible plate, L-bracket, or rig, etc. (we recommend those designed specifically for your camera to prevent rotation)
Step 1
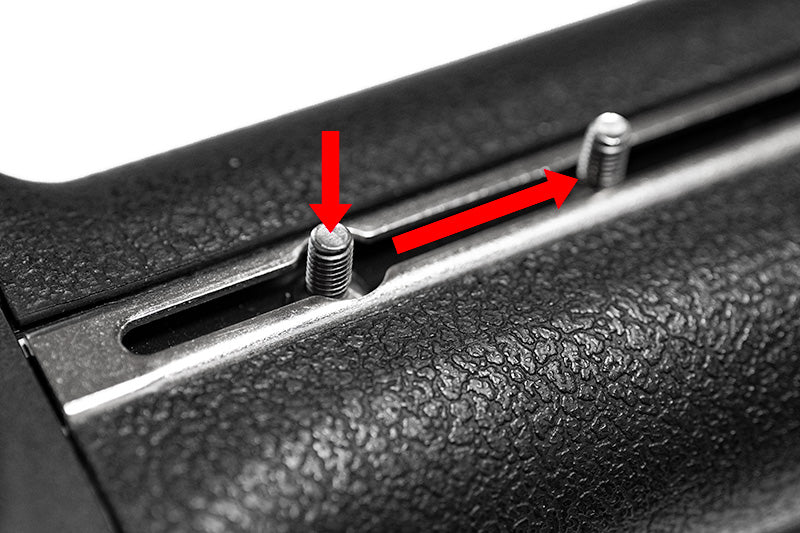
Insert the two screws head-first into the holes of the MG10/MG8 rail, then slide them sideways so they do not fall out.
Step 2
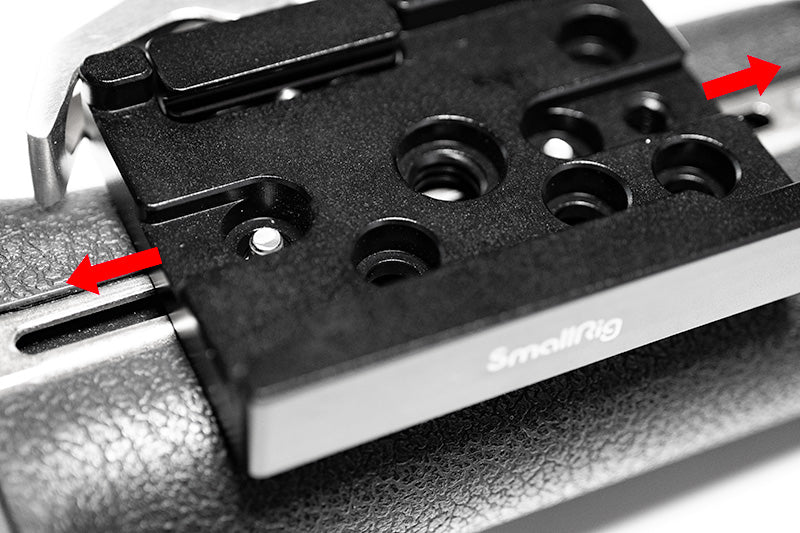
Pass the two screws through the holes in the clamp, then slide the clamp to determine the desired position. (Be careful not to position it where the screws can slip out of the rail.)
Step 3
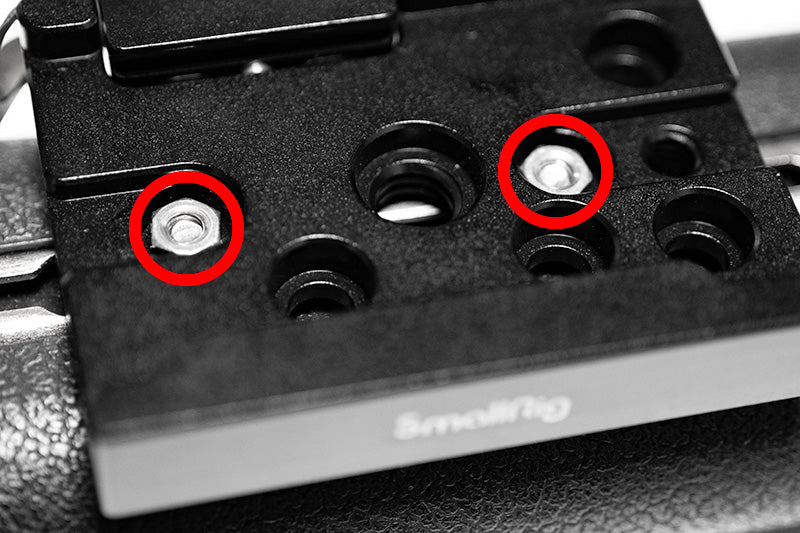
Attach the nuts.
Initially, do not use tools. Press the nut down with your fingertip while turning it clockwise slowly to ensure the threads engage correctly and do not spin loosely.
Step 4
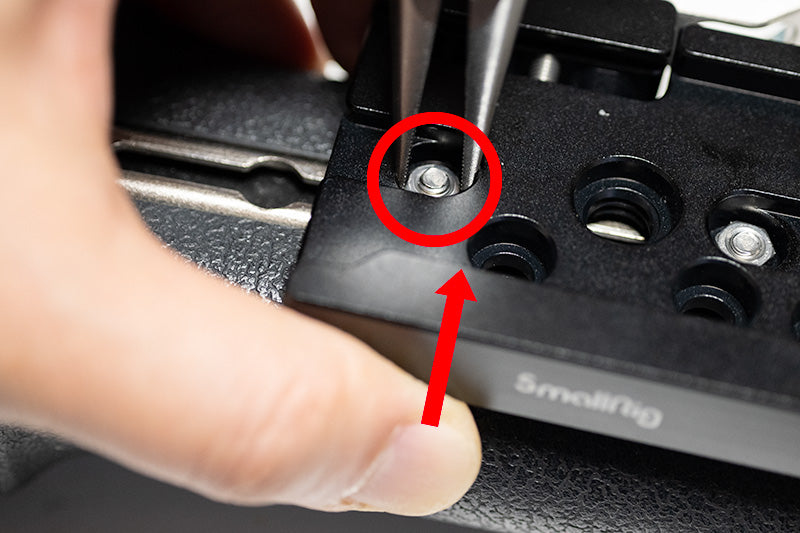
Once the nut is engaged with the screw, lift the clamp with one hand to prevent the screw from spinning (if you don't lift it, the screw will spin and won't tighten), then firmly tighten the nut with the needle-nose pliers.
Complete!
※Please re-tighten the screws periodically to prevent the clamp from loosening.