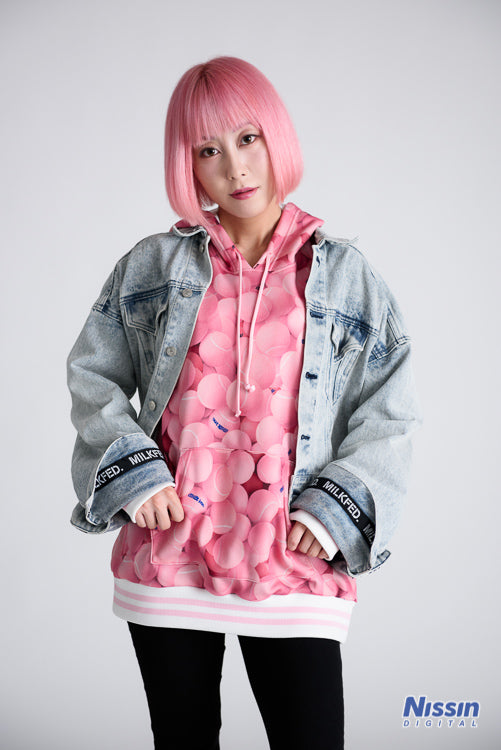
How to Get Started with Off-Camera Lighting (2): Mastering "Direct Flash"!
シェアする
Update date: 2023/6/12 In this article, we cover "off-camera flash lighting," where the flash is positioned away from the camera. While our previous article focused on using an umbrella, this time we will introduce portrait lighting techniques that make effective use of direct light. Accessories (modifiers) like umbrellas that diffuse light over a surface allow for soft expressions, whereas direct light is appealing for its high-contrast, sharp results. It is recommended for when you want to express vivid colors, a bright and lively atmosphere, or create distinct shadows. Learning to use direct light effectively will greatly expand your range of expression, so please give it a try. For shooting with direct light, we start with the same "basic lighting method" as in our previous article. First, set the flash in the "basic position," then perform "fine-tuning" according to the subject's features, and move on to "variations" by moving in a concentric circle. ※For details on the "basic lighting method," please refer to our previous article.
Basic Position
45° diagonal to the subject, higher than eye level"45° diagonal"... This refers to a position approximately 45 degrees to the left or right, from the subject toward the photographer. "Higher than eye level"... Set the height of the flash so that it is positioned higher than the subject's eye level when viewed from the subject. The basic position provides lighting with moderate shadows and a sense of depth. Because direct light is a "point light source" with a small surface area, light does not wrap around, resulting in distinct shadows.
Recommended when you want vivid colors and sharpness.
Direct light vs. Umbrella comparisonComparing lighting from the same position, you can see that direct light results in harder expressions in shadows and highlights, while the umbrella provides softer expressions.
Variations
Next, as a variation, let's try moving the flash in a concentric circle.
【Concentric movement: Approx. 23° (closer to the front)】
This position is slightly closer to the front than the basic position. Because there are fewer shadows than in the basic position, the impression is brighter.
Lighting closer to the front is recommended for people with long faces or slender builds, where you want to emphasize roundness and softness.
Since the subject's shadow extends diagonally backward at a shallow angle, it is more likely to enter the frame. Because the shadow falls clearly like a silhouette, it can be interesting to use compositions or poses that take advantage of the shadow. Since the light position is high, the shadow falls downwards, appearing short. Depending on the distance to the background, if you want the shadow to appear taller, it is better to shine the light from a lower position. A clear shadow falls, similar to photos taken under sunlight.
You can create more of a "daylight" feel by shining the light from a high position.
Next, we will move the flash to a position closer to the side, at about 68° from the basic position.
【Concentric movement: Approx. 68° (closer to the side)】
This creates light from a slightly more lateral direction than the basic position. There are more shadows than in the basic position, creating an even cooler impression. Because the shadows are hard, the contrast is high and the impression is clear. Since the subject's shadow extends diagonally to the side, it is less likely to be projected onto the background. Because shadows are clear, this light tends to emphasize rough skin texture.
If you are concerned about skin texture or want a smoother look, change to a soft light source like an umbrella.
Next, we will move the flash to 90° (directly to the side).
【Concentric movement: 90° (directly to the side)】
There are significantly more shadows, resulting in a dramatic impression. The subject's shadow stretches narrowly to the side, creating a sharp atmosphere. When the model turns toward the flash, light wraps around the face.
Conversely, if you turn away from the light, the shadows increase, making it possible to create a silhouette effect.
【Semi-backlighting】
Hard direct light, like sunlight, is also recommended for use as semi-backlighting. You can create a sparkling, sun-drenched feel. Hard light is also easy to use with reflectors or foam boards to create reflected light, allowing you to enjoy the soft quality of reflected light or create complex lighting from multiple directions. I shone the light from a high position diagonally behind the subject and placed a white foam board on the opposite side.
This setup allows light to wrap around from the foam board and the floor.
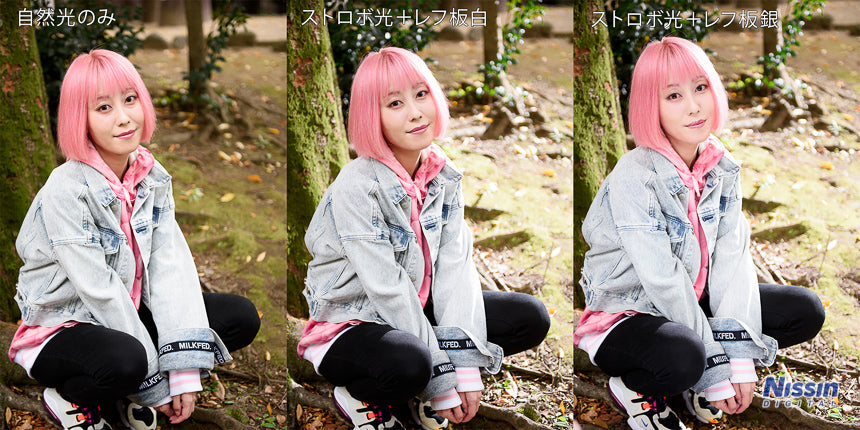
The semi-backlighting became an accent light that brightly illuminated the hair and back. The front side features a soft and gentle expression from the reflected light from the foam board. The brightness of the reflected light changes depending on the size and material of the item used to reflect it. If the surface area is small, the amount of reflected light is low and the effect is harder to see; the larger the surface area, the brighter it becomes. Also, between white and silver reflectors, white creates a weaker, softer reflection, while silver creates a stronger, harder reflection.White reflector, silver reflector, white foam board comparison
If the effect of the reflected light is weak, you can expect better results by decreasing the distance, using a larger item, or using a material with stronger reflection.
【Semi-backlighting】(Outdoor)
Semi-backlighting is also recommended for outdoor use.
When it is cloudy and lacks sunlight, using a flash to simulate the sun can completely change the atmosphere. The Super Light Stand LS-50C is lightweight, folds up compactly, and is very convenient to carry.
※The highly stableSuper Light Stand LS-55C also features an angle-adjustable mechanism. I placed the flash a little further away so that the light would also hit the background widely. Because the flash is controlled via radio, you can enjoy lighting photography without issues even at a distance. To brighten the face, I hold a reflector and illuminate it with reflected light. I was able to take a bright photo as if it were a sunny day. I initially used the white side of the reflector, but changed to silver as the effect was weak. Check the shooting results and adjust the brightness.Natural light only, flash light + white reflector, flash light + silver reflector comparison
Light from a cloudy sky is soft, but since it is coming from above, it creates shadows downwards, often appearing under the eyes or cheeks. Using a reflector from below lightens these shadows and brightens the overall face.
【Zoom Flash Head】
Direct light is attractive for its powerful, high-contrast depiction. When shooting that takes advantage of shadows, you should utilize manual adjustment of the zoom head. By changing the zoom to the telephoto side, you can enjoy narrow light similar to a spotlight. I changed the zoom to 200mm using the Air10s. Let's try shining the light from a position closer to the front. The illuminated area became narrower, resulting in a cool image with impressive darkness. Because the flash light-emitting part is rectangular, you can see that the light shape is also rectangular. By tilting the flash, it is possible to make the light vertical or diagonal.


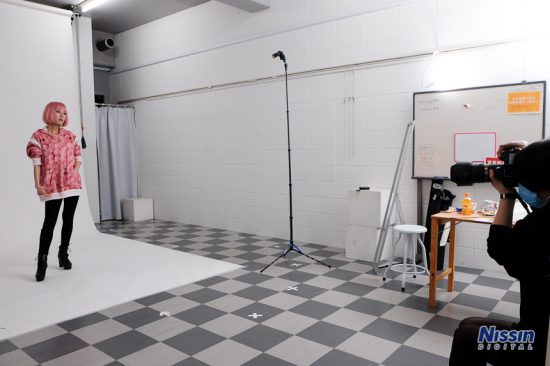 "45° diagonal"... This refers to a position approximately 45 degrees to the left or right, from the subject toward the photographer.
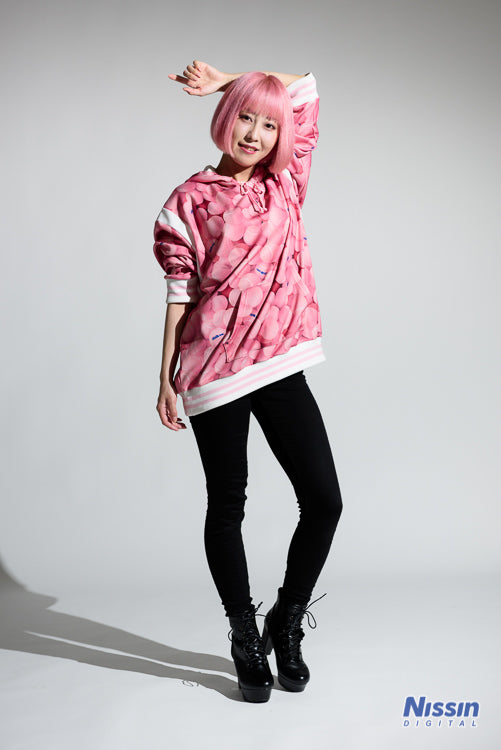 The basic position provides lighting with moderate shadows and a sense of depth. Because direct light is a "point light source" with a small surface area, light does not wrap around, resulting in distinct shadows.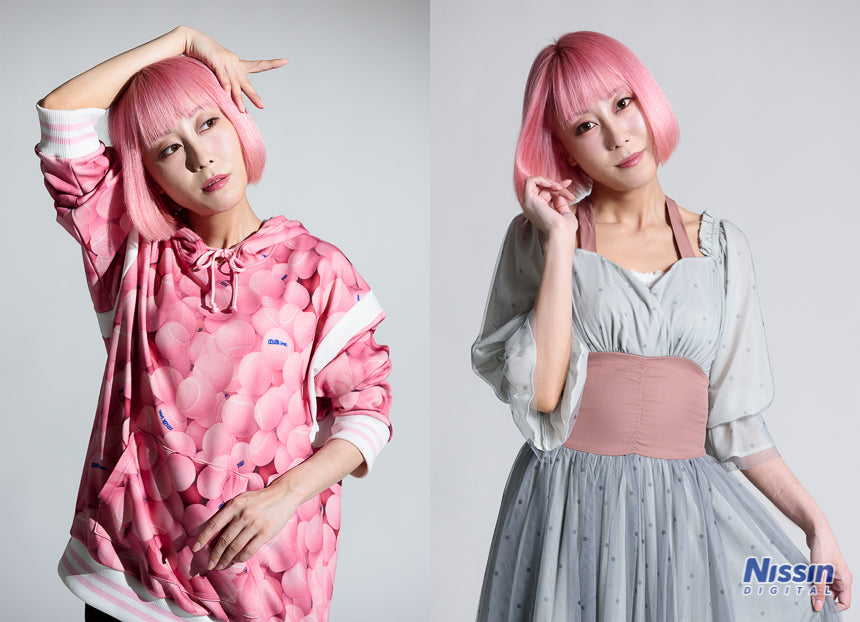
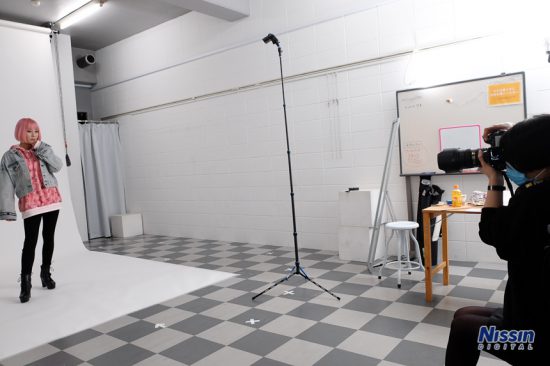 This position is slightly closer to the front than the basic position.
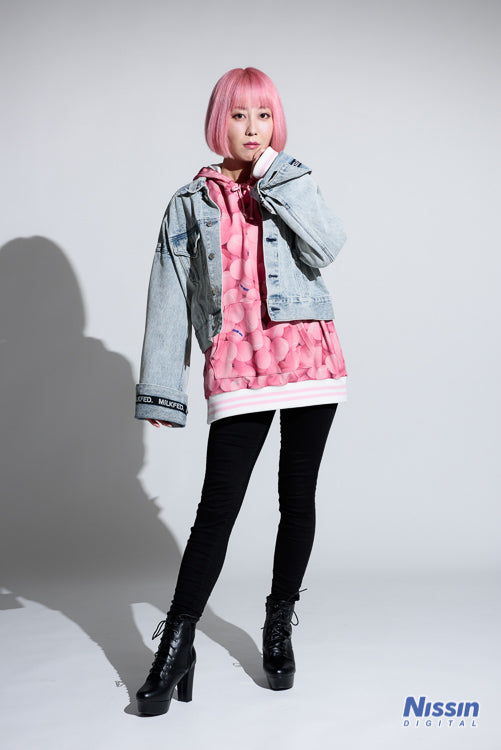 Because there are fewer shadows than in the basic position, the impression is brighter.
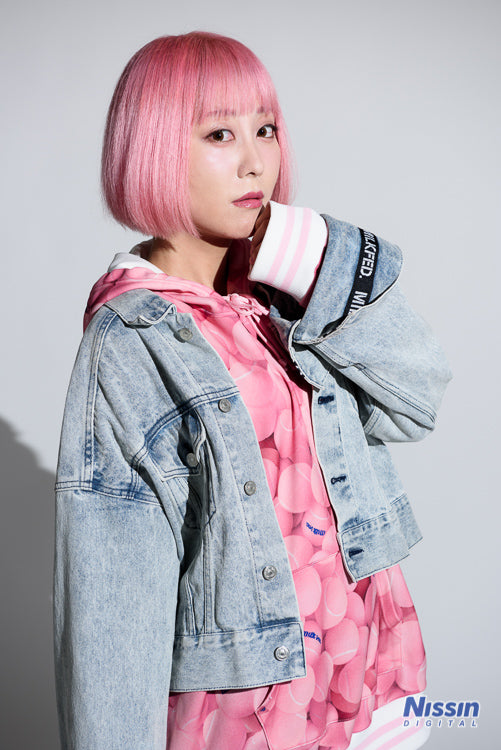 A clear shadow falls, similar to photos taken under sunlight.
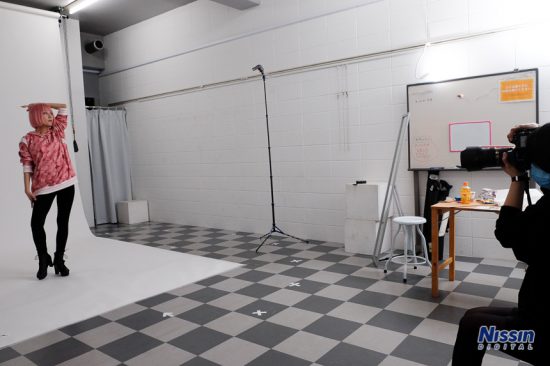 This creates light from a slightly more lateral direction than the basic position.
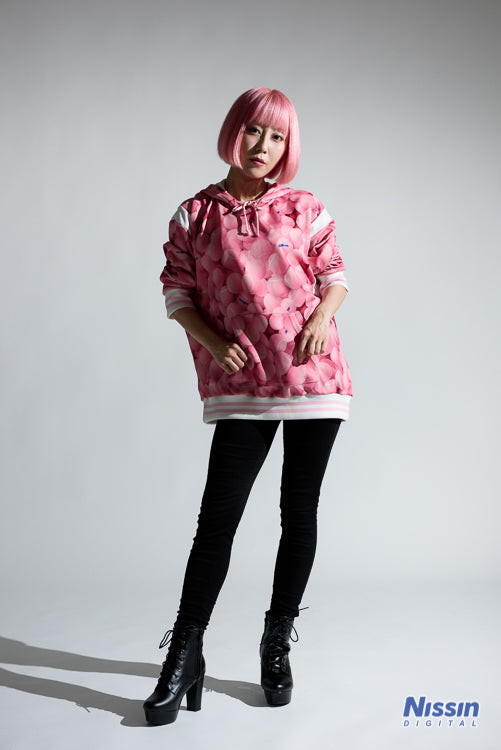 There are more shadows than in the basic position, creating an even cooler impression. Because the shadows are hard, the contrast is high and the impression is clear.
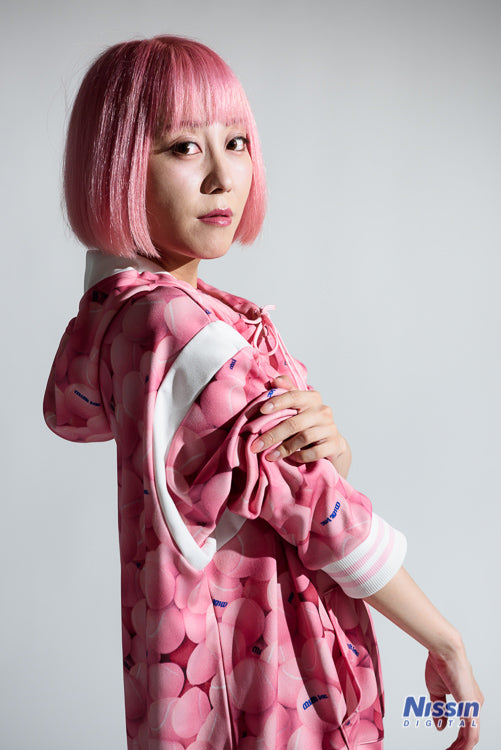 Because shadows are clear, this light tends to emphasize rough skin texture.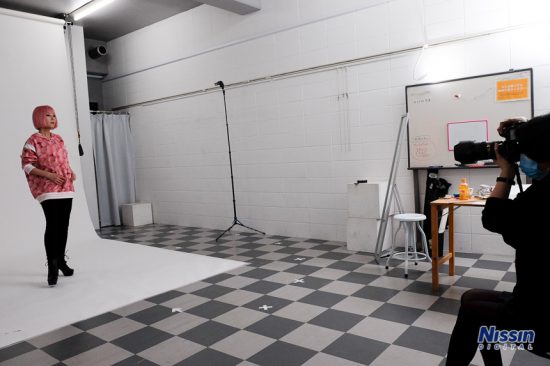
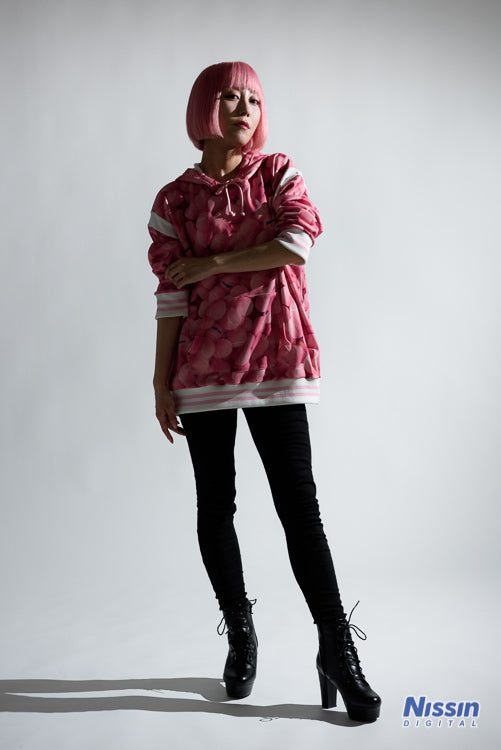 There are significantly more shadows, resulting in a dramatic impression. The subject's shadow stretches narrowly to the side, creating a sharp atmosphere.
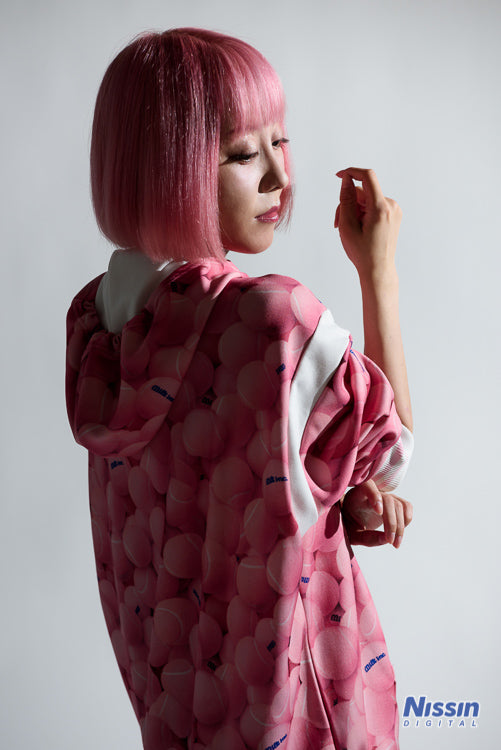 When the model turns toward the flash, light wraps around the face.
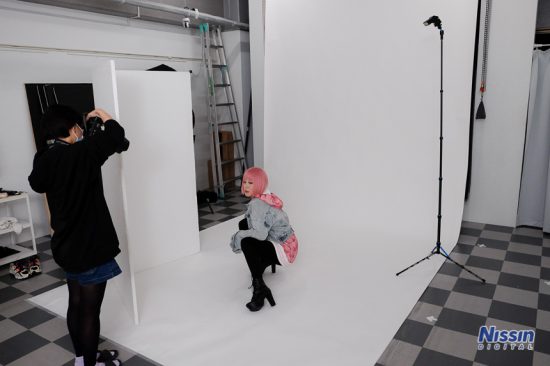 I shone the light from a high position diagonally behind the subject and placed a white foam board on the opposite side.
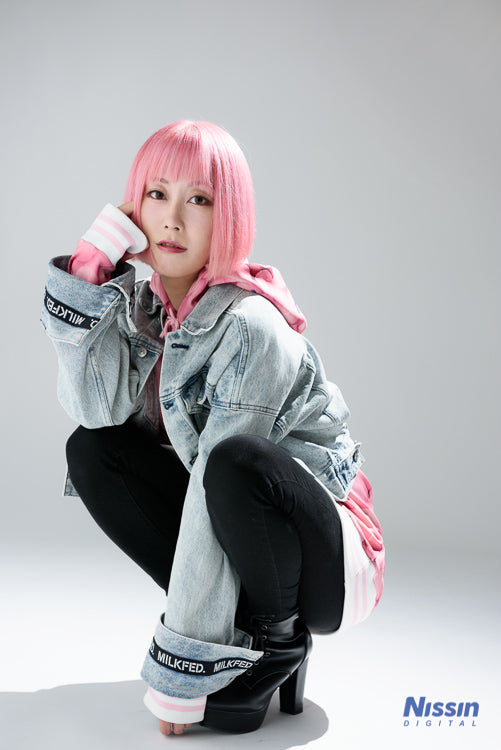 The semi-backlighting became an accent light that brightly illuminated the hair and back. The front side features a soft and gentle expression from the reflected light from the foam board.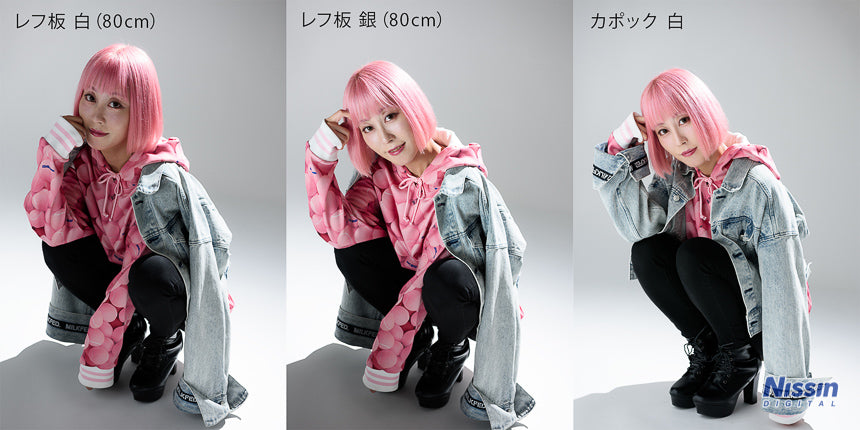
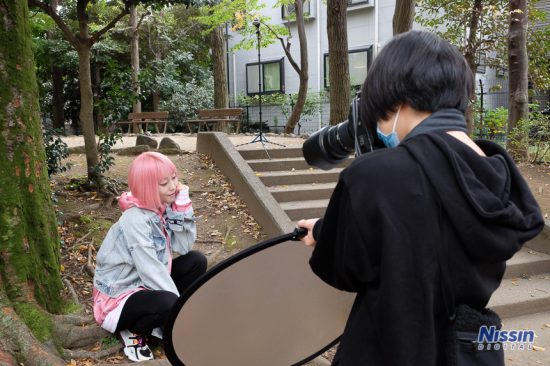 The Super Light Stand LS-50C is lightweight, folds up compactly, and is very convenient to carry.
I was able to take a bright photo as if it were a sunny day. I initially used the white side of the reflector, but changed to silver as the effect was weak. Check the shooting results and adjust the brightness.
I changed the zoom to 200mm using the Air10s. Let's try shining the light from a position closer to the front.
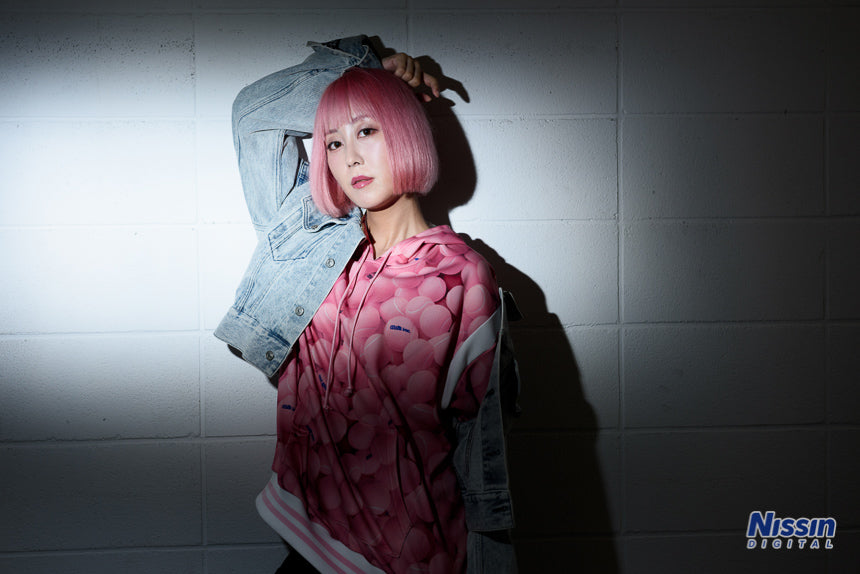
The illuminated area became narrower, resulting in a cool image with impressive darkness.
This is a comparison of changing the zoom while shining light from the upper right diagonally toward the model.
Point the flash head straight up and bounce light off the ceiling.
If the ceiling is too high, the reflected light will become weak, so this is easier to succeed with a lower ceiling.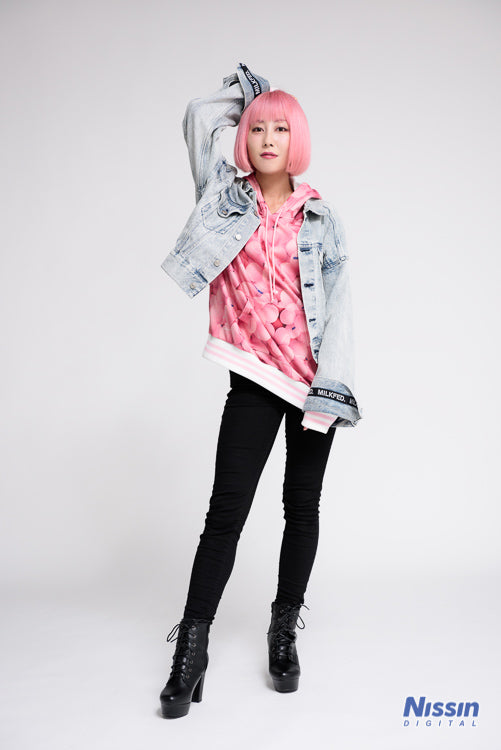
The light wraps around very softly. Since it is light from above, shadows are cast downwards, such as under the neck. Because the light-emitting area is large and the light wraps around well, the subject's shadow cast on the floor is also very light.
The closer you bounce the light to a wall near the model, the more it becomes side light, and the further away you bounce it toward the front, the more it becomes light from the front.
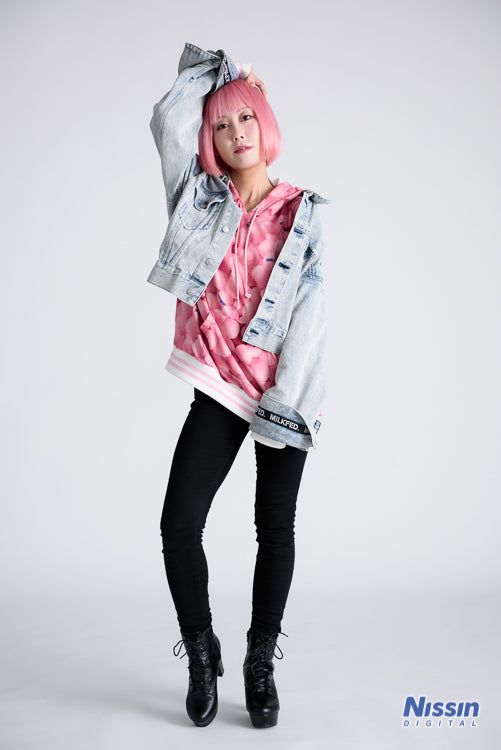 Soft shadows were created, resulting in a gentle, three-dimensional expression. This is a recommended lighting method when you want to bring out maturity or make someone look slimmer.