Tips for taking delicious-looking food photos using a strobe
シェアする
What is needed to take more attractive and delicious-looking photos of food?
First, it is important that the photo has appropriate brightness, beautiful colors, and a lighting setup that makes the food look appealing.
This time, I will introduce tips for taking delicious-looking food photos using one flash unit!
【Shooting with natural light】
When shooting with natural light
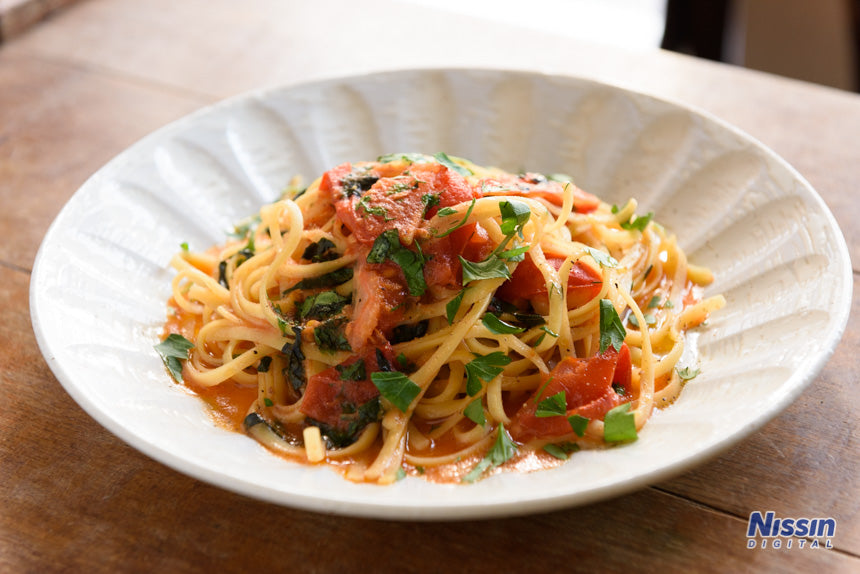
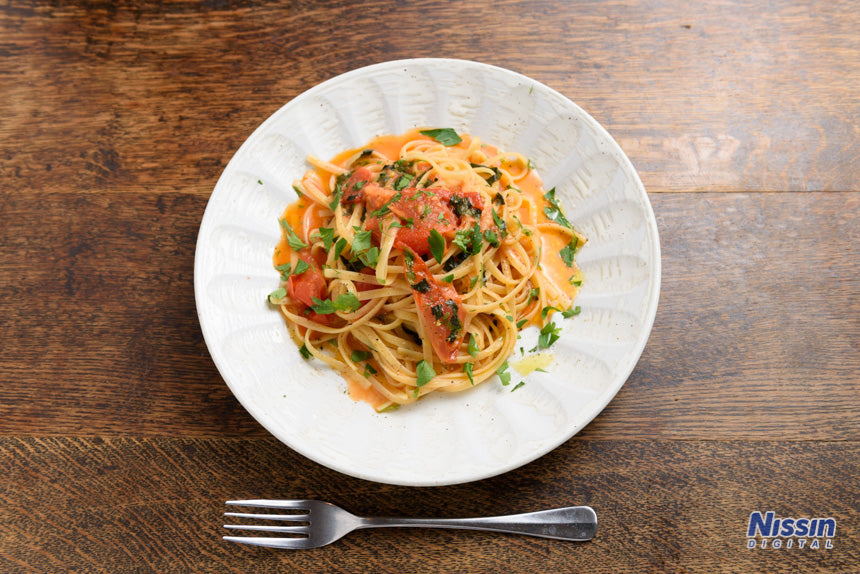
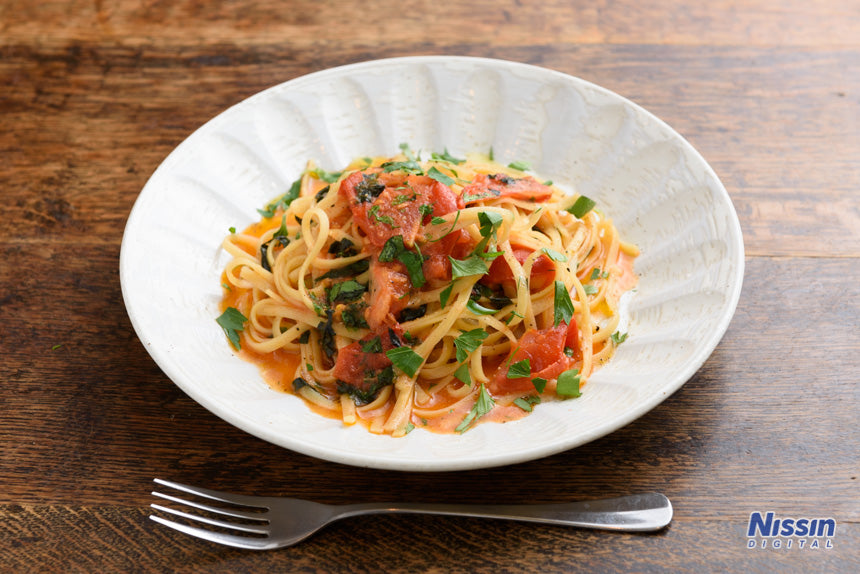
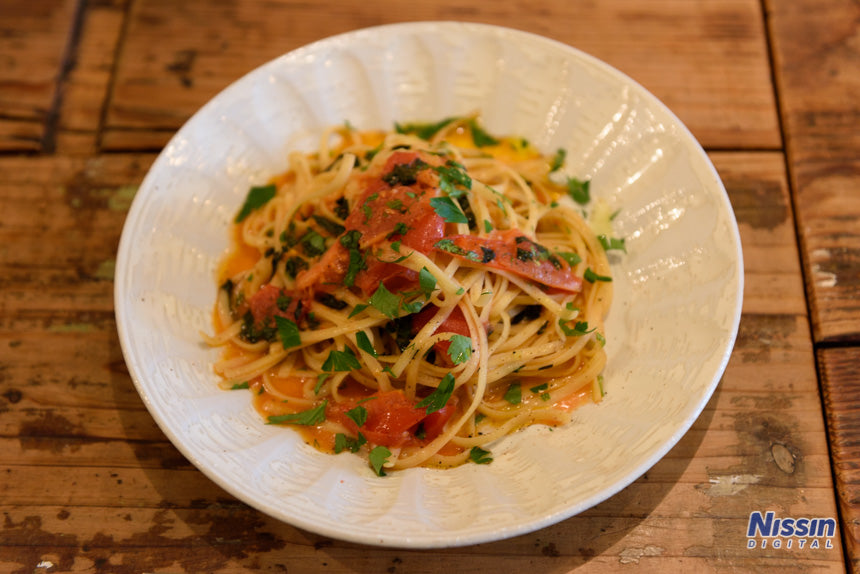
First, I'll place the pasta on the table as it is and take a photo using the camera's auto exposure settings without any adjustments. Exposure/WB auto (no correction)
The resulting photo is a bit dark and the colors aren't very vibrant, making it look lackluster. Even though it's delicious-looking food, this photo fails to convey its appeal, doesn't it?
The shooting location was inside a cafe. Incandescent lights hung from the ceiling were hitting from above, and weak natural light from a window some distance away was hitting from the side. The parts hit by natural light appear slightly bluish, while the parts not hit by natural light appear orange (amber) due to the incandescent light.
Because light of different colors is hitting the subject at the same time, each of those colors is appearing in the photo.
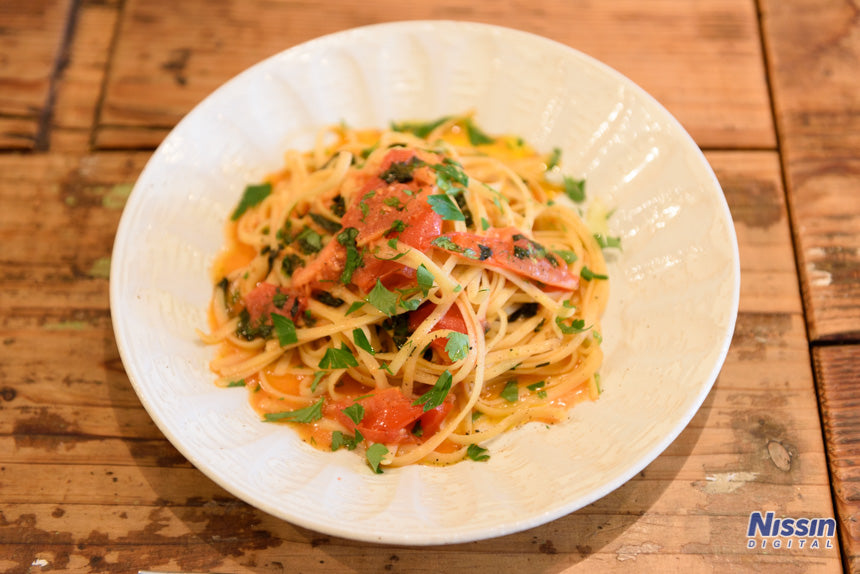
For now, let's keep the location as is and try adjusting the brightness using exposure compensation.
Trying exposure compensation
Exposure compensation +0.7It became brighter and slightly better, but since the way the light hits has not changed, the finish is still lackluster. Looking at the exposure values, they are: ISO 1000, f/3.1, 1/40 second. Since it was a somewhat dark situation, the ISO sensitivity is high, making noise likely; the aperture is wide open, resulting in shallow focus; and the shutter speed is slow, making camera shake likely—a fairly difficult setting. Next, let's move to a window-side area where natural light enters and it is relatively bright, and try a better way of letting the light hit while ensuring brightness.
Trying to change how the natural light hits
I moved to a table by the window. Soft light—not direct sunlight—is entering from a window without curtains.
Point 1: Create depth with backlighting
For food photography, I recommend not shooting from the window side where light hits from the front, but rather shooting from the back of the store toward the window, creating a backlight-leaning lighting state.
By backlighting, a sense of depth is created, and the food is captured in a way that makes it look delicious.
Exposure compensation +0.7 (ISO 1000, f/4.5, 1/80 second)With semi-backlighting, the food now has sheen and luster, and a three-dimensional expression has emerged. Because the situation is a bit brighter, the exposure settings have also changed.
Point 2: Brighten the dark areas with a reflector
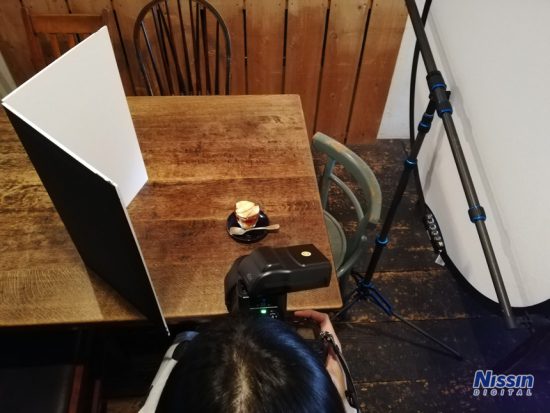
Since the foreground is in shadow and dark, let's use a reflector to bounce the light and brighten it. I stood a white board facing the shadowed part in the foreground of the dish. When I take a photo in this state…Exposure compensation +0.7 (ISO 1000, f/4.5, 1/80 second) with reflectorThe foreground has become a little brighter! The white board reflects the light from the window and illuminates the shadowed area.
This reflector is It's starting to look good, but the fact that the incandescent color is appearing in the shadows of the natural light at the back of the plate is a bit concerning. Let's try turning off the store lights.
Trying to turn off the store lights
Incandescent lights OFFThe color cast caused by the incandescent lights is gone, and the colors have become beautiful.
Point 3: Avoid color casts
Such as the combination of sunlight and incandescent light, Since the store lights are off, the shadows have become a little darker, so it might be good to increase the exposure compensation even further. We have learned that even with natural light, you can take photos this beautifully if the way the light hits is good. However, if there isn't enough brightness, you cannot solve the drawbacks of having to use a wide aperture leading to overly shallow focus, a slow shutter speed making it easy to blur, and high ISO sensitivity leading to noise. There are other drawbacks as well, such as not being able to take good photos when direct sunlight enters, missing the good times of day, or being unable to shoot due to bad weather.
I want to take photos of food with even crisper, more beautiful image quality at any time of day... In such cases,
【Shooting with a flash】
Let's use a flash!
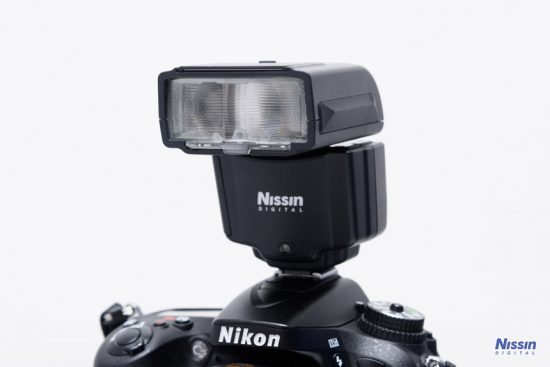
i400First, I will shoot with an on-camera flash (attached to the camera hot shoe). For on-camera shooting, the compact and high-output i400, i40, or i60A are recommended. This time, I used the i60A, which is compact, has high output, and has a built-in radio receiver that can also be used off-camera.
On-camera bounce to the ceiling/walls
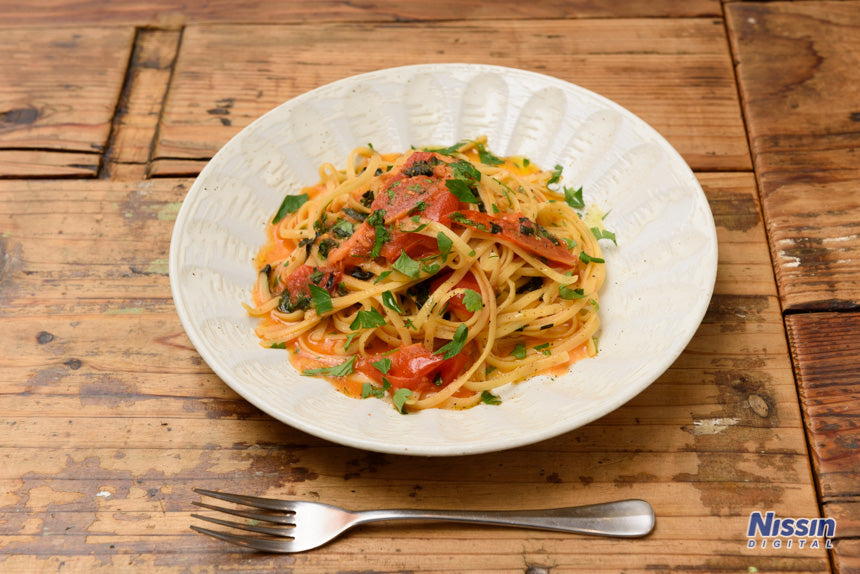
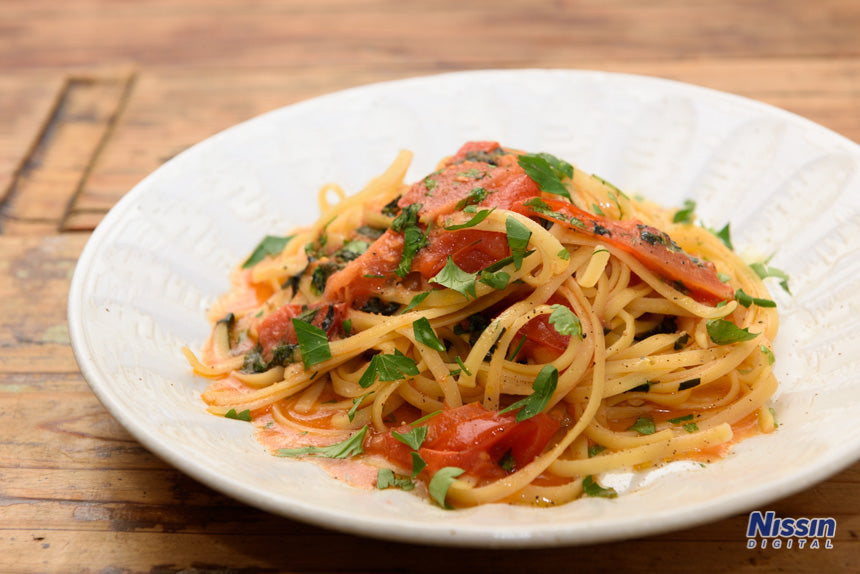
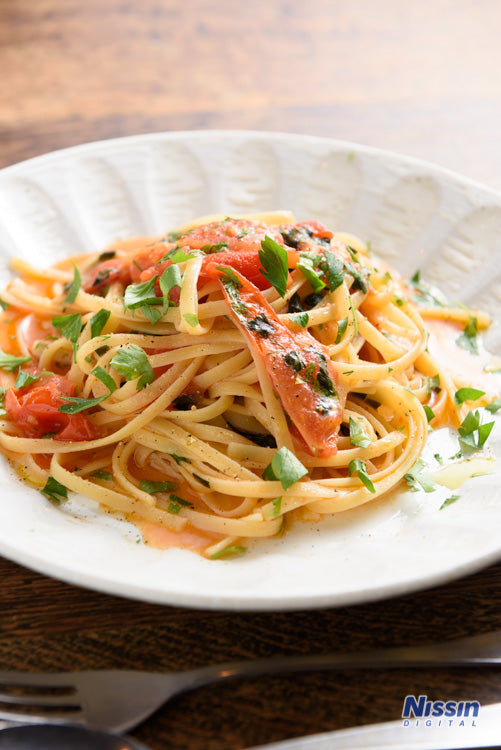
Just like shooting with natural light, first, we will try bounce photography, where we aim the flash light at a white ceiling or wall and use that reflected light to take pictures. Aim the flash head at the ceiling so that light pours down from behind the food. Angle the head so that the light bounces from diagonally behind. Stand a reflector on the shadow side to weaken the shadows. Exposure manual (ISO 400, f/8, 1/125) TTL auto, ceiling bounceExposure manual (ISO 400, f/8, 1/125) TTL auto, ceiling bounceBy bouncing off the ceiling, the light source becomes larger, and I was able to take photos with a soft atmosphere. For the second photo, I moved the reflector a little further away than in the first shot to leave some shadows and create a three-dimensional effect.
If you want to make a soft photo
Point 4: Beautiful colors with flash!
When you can't shoot brightly, clearly, or with beautiful colors using natural light, pay attention to the exposure settings. Because the flash light is bright, I was able to lower the ISO sensitivity and stop down the aperture. Compared to using natural light, the noise has decreased and the depth of field has expanded, resulting in a clearer image. By lowering the exposure settings, the effect of natural light is eliminated, and the color cast from the incandescent lights is gone. Furthermore, because flash is instantaneous, there is no need to worry about camera shake. Since color rendering is high, the color expression is also very beautiful.Ceiling bounce (semi-backlight)The expression of depth changes when the angle of the light changes. Adjust the angle of the head while calculating where the light source is located. As a test, let's tilt the flash head toward the front and create lighting that wraps light around from the front. Ceiling bounce (front light)The photo is flat with no shadows, lacking a three-dimensional feel....
Food photos should be Ceiling bounce is easy and beautiful with little equipment, but it is also very deep. Let's try changing the head angle in detail and testing various lighting directions so you can find the perfect light angle for that dish!
On-camera bounce to a reflector
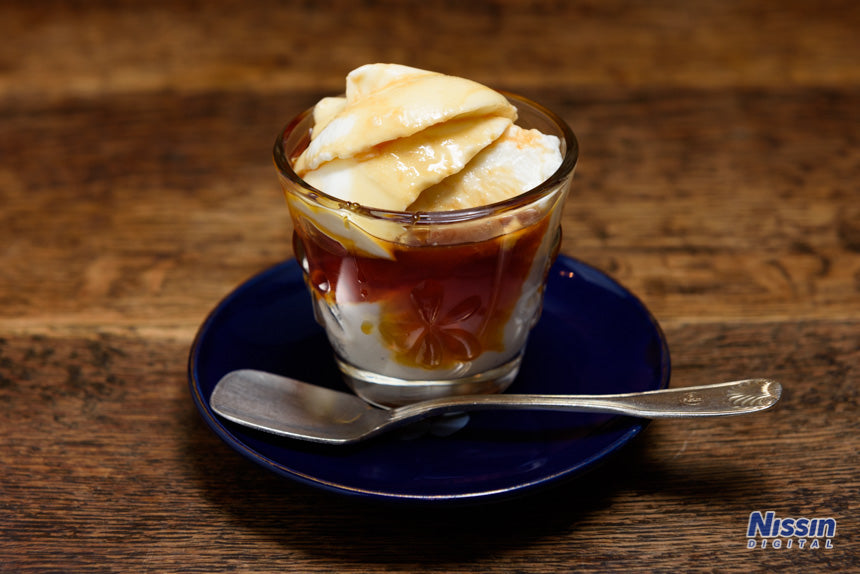
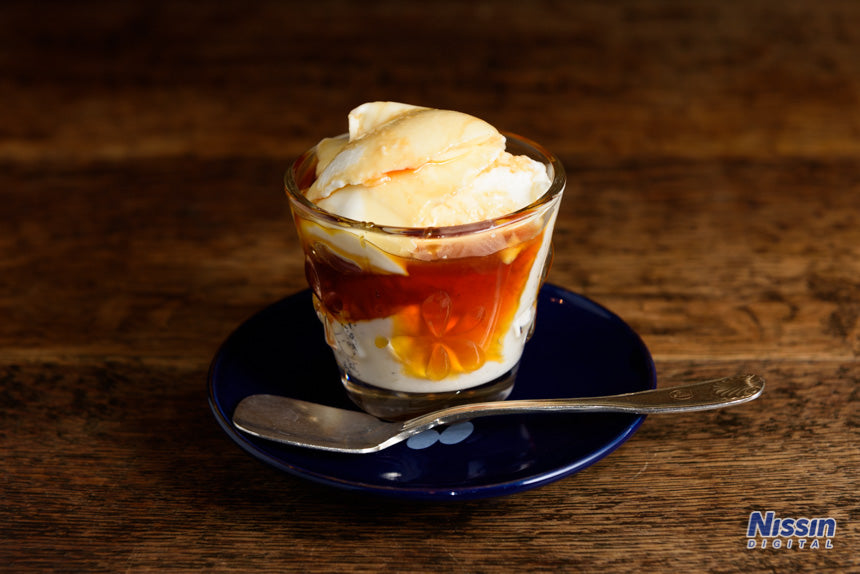
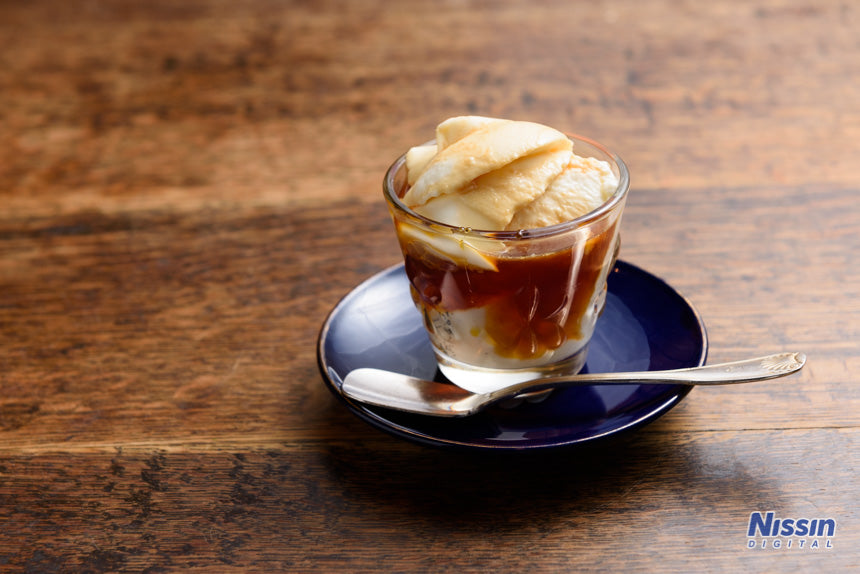
When there is no white ceiling or wall, you can shoot by bouncing light onto a reflector attached to a reflector holder. Stand a reflector behind the food to create semi-backlighting and aim the flash light at it. Using a white reflector will allow you to light it softly. Reflector bounce (backlight)Reflector bounce (side light)Both photos are bounced to the reflector, but the position of the reflector is changed. In the first shot, it is placed diagonally behind the dish; in the second, it is placed at the side.
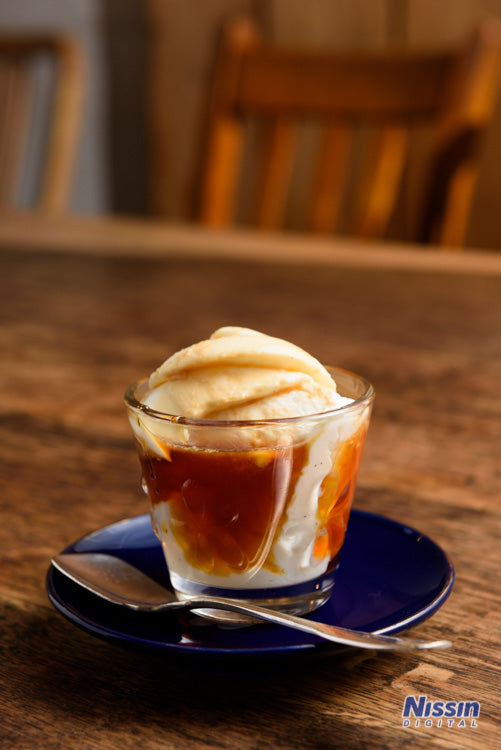
For things with height The first photo isn't bad either, but by using side light like in the second shot, I was able to express the caramel color vividly and impressively.
Off-camera transmission through tracing paper
I have been shooting on-camera up to this point, but from here on, I will take the flash off the camera and use off-camera lighting. By pairing the i60A with the Commander Air10s, you can move the flash away from the camera and trigger it.
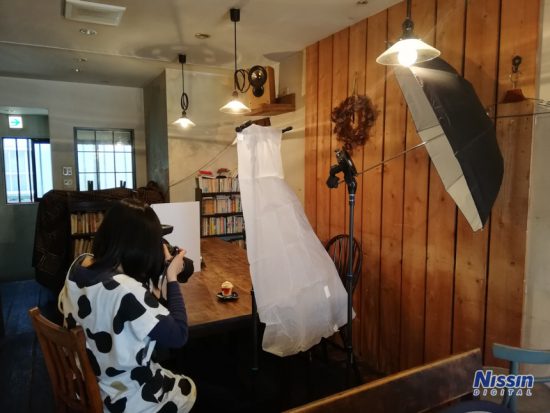
Since the light is too hard if you hit it directly, Place the light source diagonally behind the food to create semi-backlighting. Transmission through tracing paperTransmission through tracing paper
Unlike bounce photography, the light is facing the subject, so the photo changed to a vivid and refreshing impression that makes you feel the light. The closer the distance between the tracing paper and the flash, the harder the light, and the further away, the softer it becomes, so even changing the distance a little will change the impression. Transmission through tracing paper (semi-backlight)Transmission through tracing paper (semi-backlight side)Even a slight change in angle alters the impression. It is a vivid and three-dimensional image. If the transmission through tracing paper creates too much glare, or if you want more softness, you can attach an umbrella (reflective white) to the flash, which will wrap the light and soften it. Umbrella + transmission through tracing paperUmbrella + transmission through tracing paperIt finished as a soft and beautiful photo.
When you use tracing paper
Flashes and equipment used
The flash I used this time is the i60A. It can be used both on-camera and off-camera, and although it has a small body, it has high output, making it a reliable flash for bounce shooting as well. The commander used for off-camera shooting is the Air10s. You can adjust the flash output at hand, and you can set it up quickly even with multi-light setups. For standing the flash, reflector, and tracing paper, I used Super Light Stands and Super Reflector Holders. They are made of carbon, very light, and compact when folded, making them suitable for carrying around. I also used Nissin products for the reflector and umbrella accessories. Please try your hand at taking delicious-looking food photos with Nissin flashes and accessories! Photography/Writing: Ai Ehara (2019/05/31)


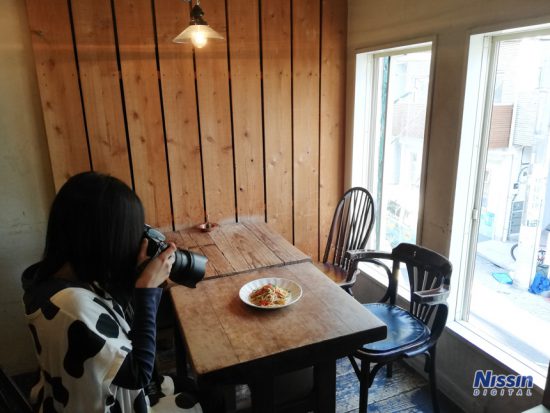 I moved to a table by the window. Soft light—not direct sunlight—is entering from a window without curtains.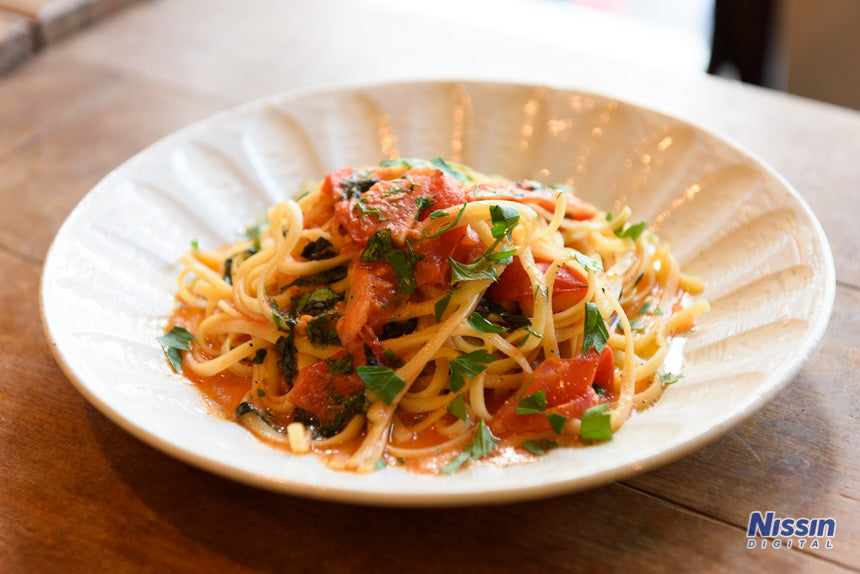
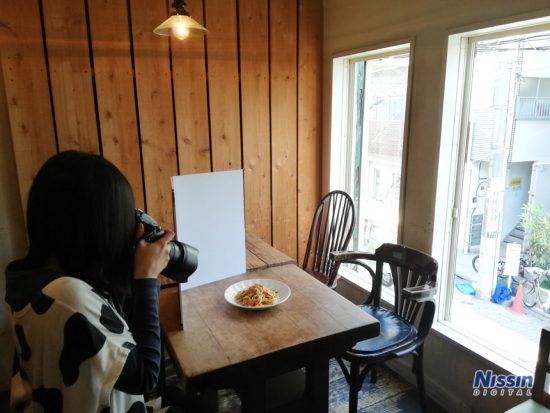 I stood a white board facing the shadowed part in the foreground of the dish. When I take a photo in this state…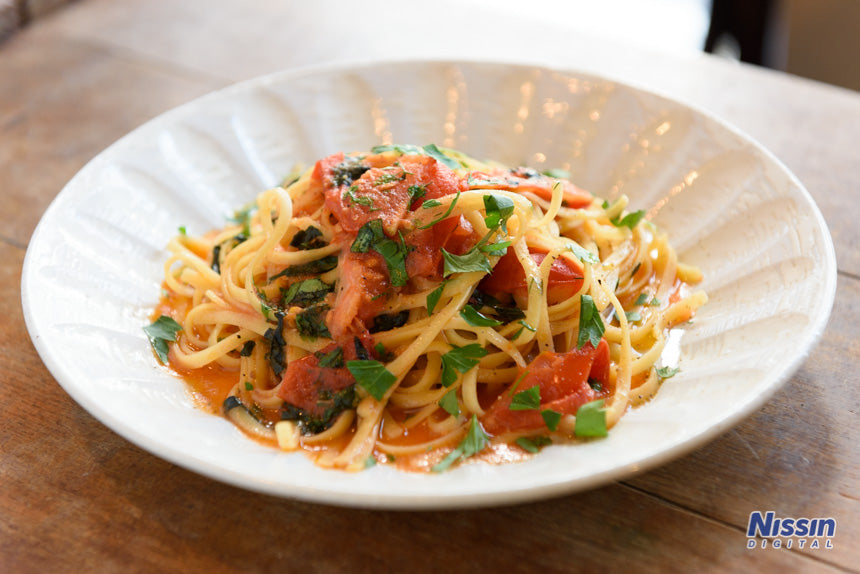
Angle the head so that the light bounces from diagonally behind. Stand a reflector on the shadow side to weaken the shadows.
Stand a reflector behind the food to create semi-backlighting and aim the flash light at it. Using a white reflector will allow you to light it softly.
Place the light source diagonally behind the food to create semi-backlighting.