MG80 Pro Frequently Asked Questions (FAQ)
These are frequently asked questions and answers regarding the MG80 Pro. You can narrow down your desired question using the search box at the top of the page. If your issue is not resolved, please contact us.
List of Questions (5)
- I am having trouble attaching it to my camera.
- Switching operation modes
- The number of flashes is lower than I expected.
- How to replace the hot shoe
- How to reset the MG80 Pro
Q. I am having trouble attaching it to my camera.
Applicable models: MG80 Pro, Di700A, MF18
In this mechanism, turning the screw lowers the locking pin on the shoe part, which prevents the unit from slipping out of the shoe. Tightening the screw also eliminates the gap with the shoe, which helps prevent wobbling.
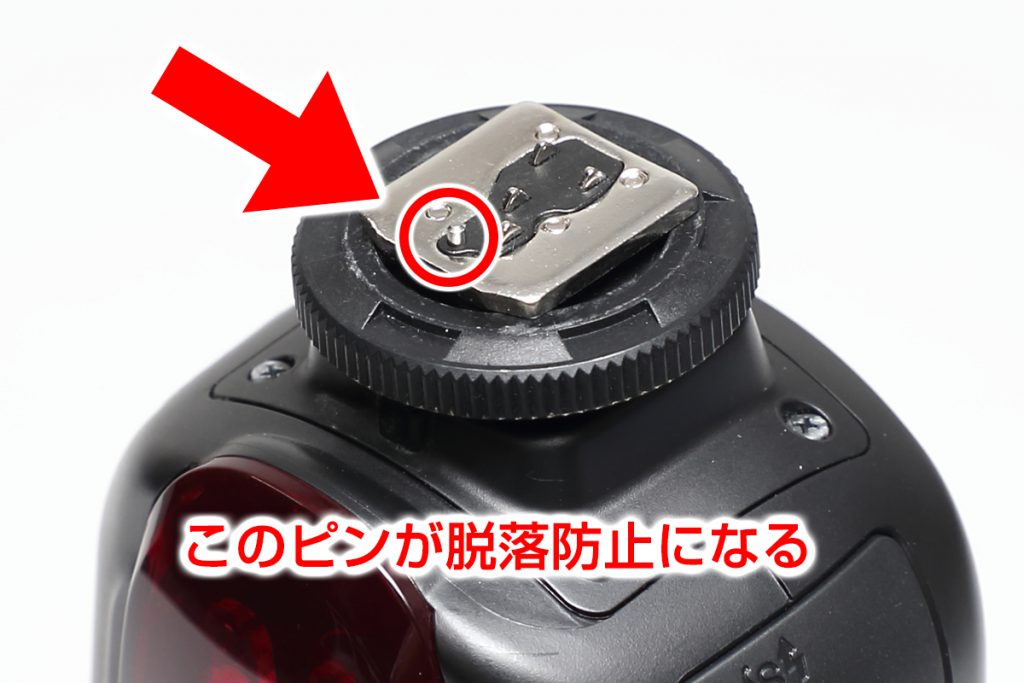 When you rotate the screw on the top of the shoe, the locking pin at the red arrow lowers to prevent it from slipping off the camera.
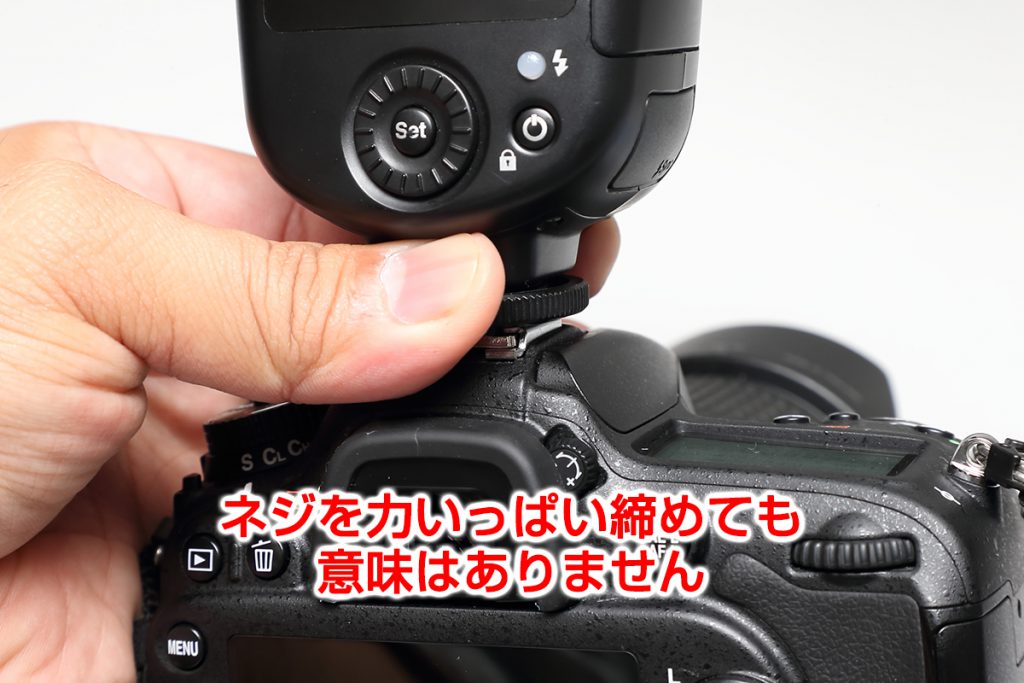 While the screw on top of the shoe is also intended to fill the gap with the shoe to eliminate wobbling, tightening this screw is not intended to be the primary method for securing the flash or preventing it from slipping out.
Tightening it with all your might will not change the locking mechanism, and normal tightening is sufficient for a secure fit. Conversely, there is a risk of damage or the unit becoming stuck, so please do not overtighten it.
Q. Switching operation modes
Applicable model: MG80 Pro
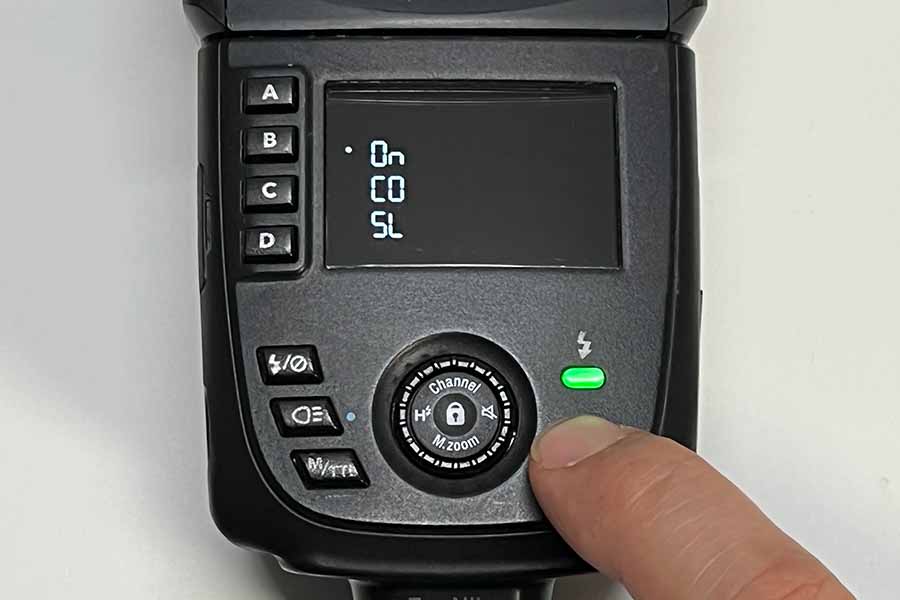
1. On-camera mode (On): When attaching the MG80 Pro to the camera to fire it.
2. Commander mode (CO): When using it as a commander to remotely control NAS flashes.
3. Slave mode (SL): When using it as a NAS slave. Only supports radio transmission.
【How to switch operation modes】
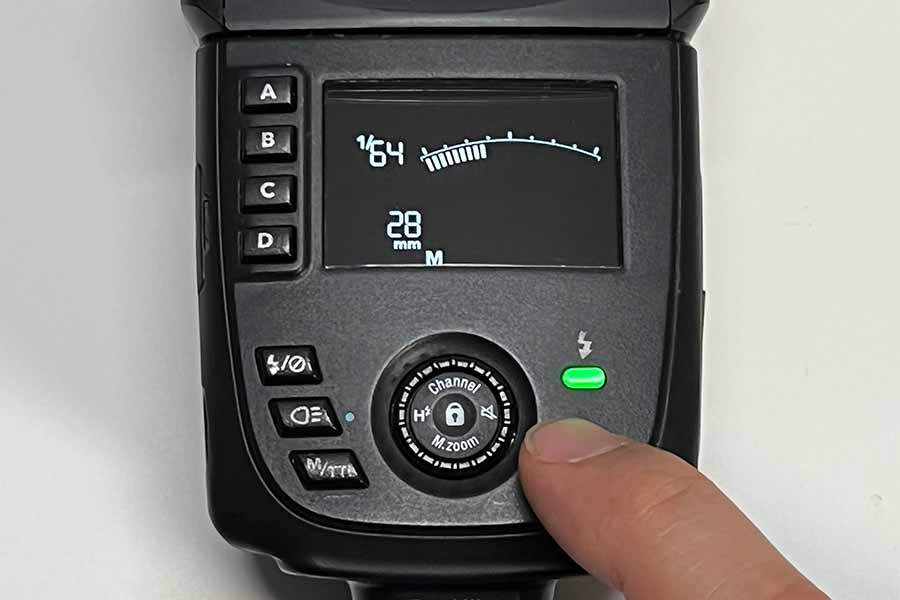
With the MG80 Pro powered on, press and hold the power button for 3 seconds to display the operation mode selection menu.
Rotate the selection dial to choose one of the three operation modes, then press the center button of the selection dial to confirm.
Please also watch the video.
Q. The number of flashes is lower than I expected.
Applicable models: MG80 Pro, MG60
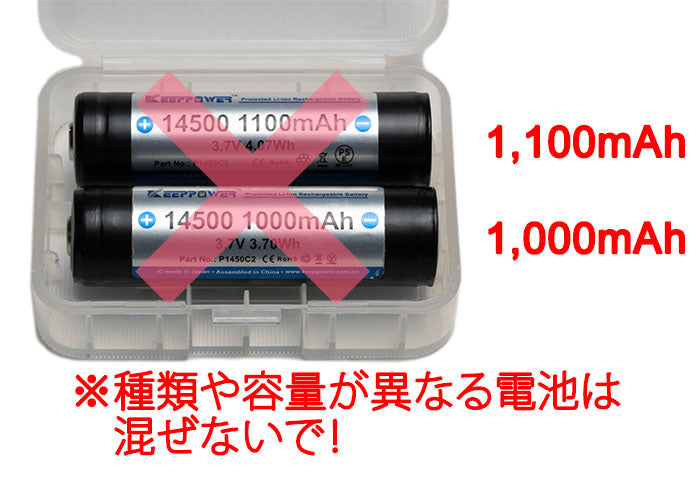 If you mix batteries with different charging capacities or charge levels, the number of flashes may be drastically reduced, or the batteries may deteriorate faster than normal. Please ensure you always use batteries of the same brand and capacity, charged under the same conditions.
※Note from April 2022
For the MG60 (Nikon version), it was discovered that a battery low indicator might appear even when the batteries have sufficient charge. We have released firmware (version 4) to improve this symptom.
For instructions on how to check the firmware version and update, please refer to the "Firmware Update" section on the Product Information page.
Q. How to replace the hot shoe
Applicable model: MG80 Pro
MG80 Pro allows you to replace the hot shoe (mounting foot) yourself.
This page explains how to replace the hot shoe.
Caution
- Always replace it with a hot shoe designed for the exact same model and mount as your product.
While it is physically possible to attach a hot shoe for a different mount, the internal circuit boards differ by mount, so it will not function correctly even if the firmware is updated. - If the flash does not operate correctly after replacing the hot shoe, repairs may be required. In such cases, the standard repair fee will apply even if the hot shoe was replaced by the user.
(Even if the body has no major damage, if it does not power on or does not fire when the pilot lamp is pressed, a repair is usually necessary.) - Our company bears no responsibility should any work be unsuccessful. Please perform this at your own risk.
- If you are not confident in your ability to perform the replacement yourself, please request a repair from us. (A standard minor repair fee will apply.)
How to obtain parts
You can purchase them exclusively at the Nissin Digital Direct main store.
MG80 Pro for Canon
Nissin Digital MG80 Pro Hot Shoe ASSY for Canon XXFP
MG80 Pro for Nikon
Nissin Digital MG80 Pro Hot Shoe ASSY for Nikon XXFU
MG80 Pro for Sony
Nissin Digital MG80 Pro Hot Shoe ASSY for Sony XXGA
Required tools
- The flash unit
- Replacement part (above)
- Size 0 Phillips (+) screwdriver
(Sizes 2, 1, and 0 get smaller as the number decreases. Below 0, the numbers go 00, 000, etc.)
Procedure
1. For safety, remove the batteries, then remove the 4 screws and gently lift the hot shoe. (The screws will be reused, so be careful not to lose them.)
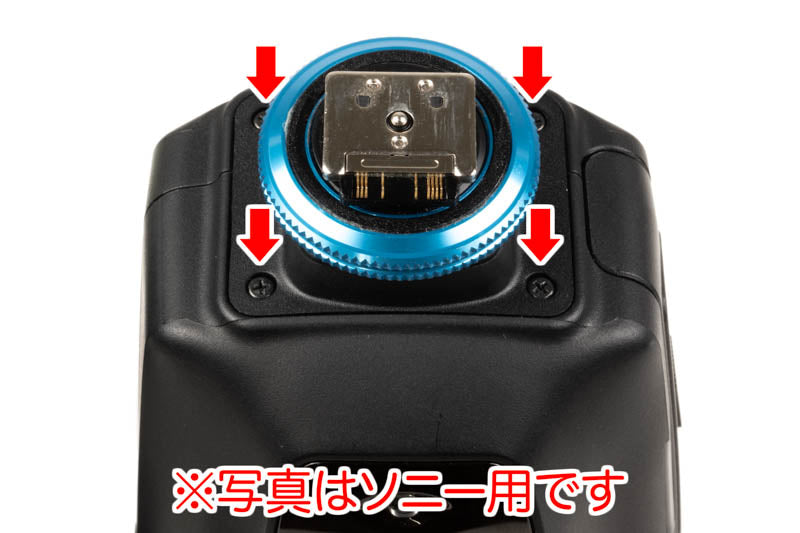
- If the screws are tight and won't turn, trying to force them may strip the heads, making them impossible to remove. Press the screwdriver firmly into the screw (without damaging the resin parts) and try turning it slowly. (Be very careful not to let your hand slip and jab the tip of the screwdriver into the hand holding the flash unit.)
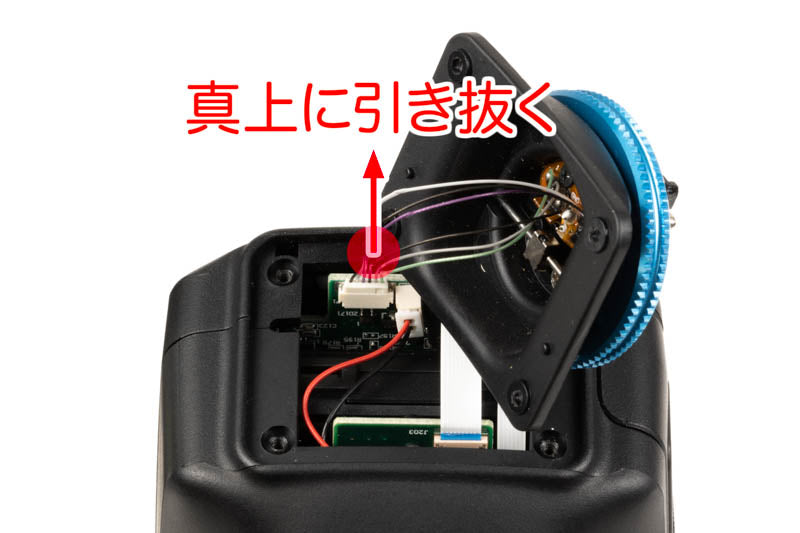
2. Hold the cable connecting the MG80 Pro body and the hot shoe with both hands, and pull the cable straight up to disconnect the connector from the circuit board.
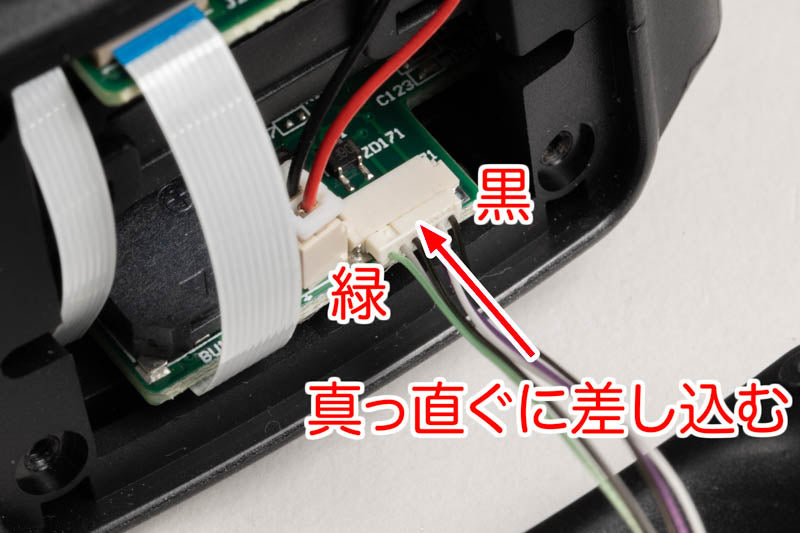
3. Insert the new hot shoe connector into the connector on the circuit board until you feel it hit the back. (Please pay attention to the orientation of the connector.)
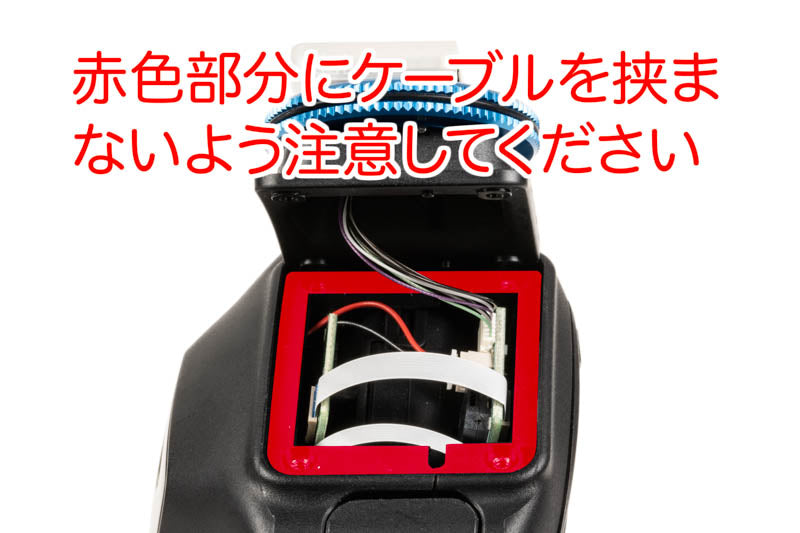
4. Fit the hot shoe into the body while being careful not to pinch the cables, and secure it with the 4 screws. (Please note that overtightening will damage the screw holes in the body.)
Q. How to reset the MG80 Pro
How to reset the MG80 Pro
- With the power on, press and hold the power button.
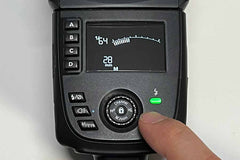
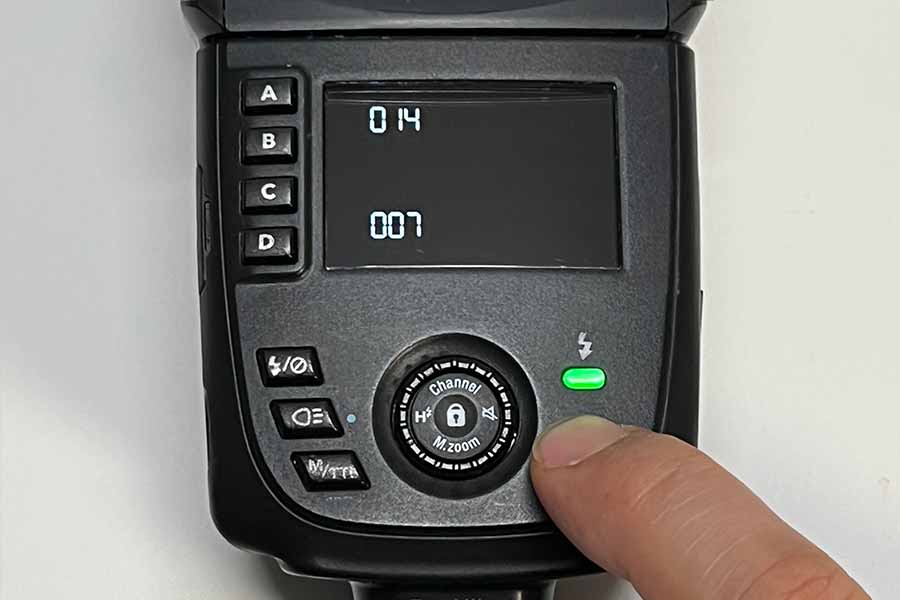
- After about 3 seconds, the operation mode selection screen will appear, but continue to hold the button down.
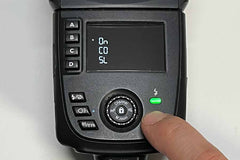
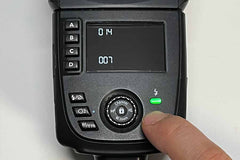
- Two seconds after switching to the operation mode selection screen, the firmware version will be displayed; release your finger at this point.
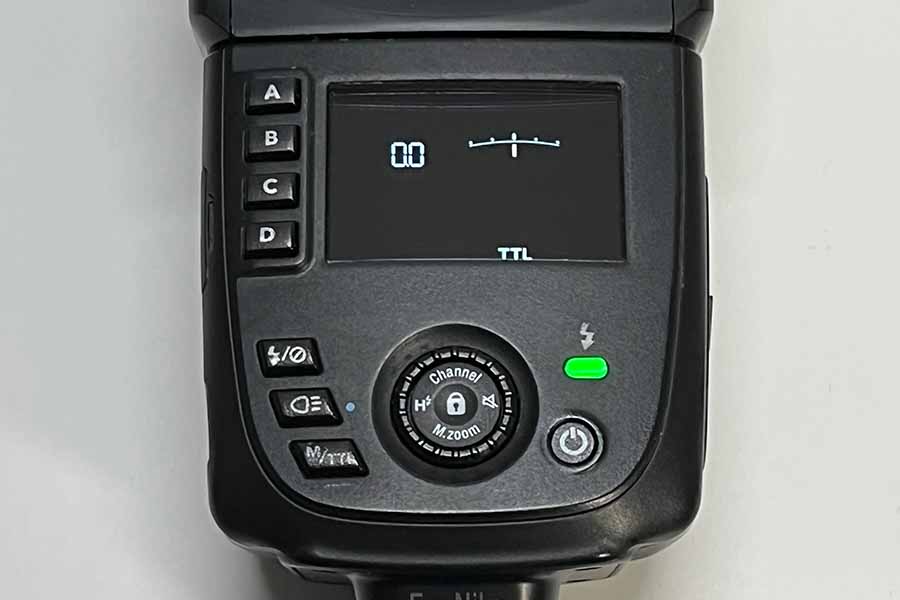
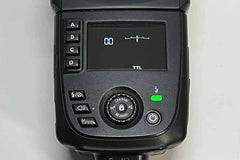
- Settings other than pairing information will be reset, and the unit will switch to On-camera mode, TTL flash mode (compensation value 0), and auto-zoom.
- Performing the reset operation does not delete pairing information, so you generally do not need to repeat the pairing process. Only repeat it if the commander and flash are not synchronizing correctly.