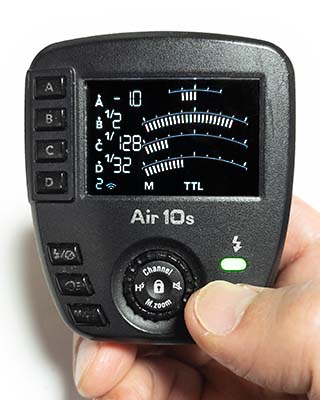
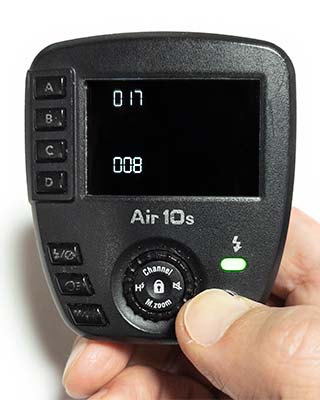
Air10s FAQ
These are frequently asked questions and answers regarding the Air10s. You can narrow down your target question using the search box at the top of the page. If your issue is not resolved, please contact us.
FAQ List (14 items)
- Precautions for attaching our products to the GH5
- Precautions for attaching our products to the D5600
- Why does the Air10s/MG80 Pro (Commander Mode), unlike the Air1, not support rear-curtain sync photography on Canon cameras?
- What happens when paired with devices that do not support 1/3 EV step light intensity control, such as the Di700A or AirR?
- When using manual flash in high-speed sync (FP flash/HSS mode), I cannot set the light intensity below 1/32. Is this a malfunction?
- How to insert batteries
- What to do if the battery cover comes off
- I cannot fire a flash mounted on an AirR from a camera with an Air10s or MG80 Pro (Commander Mode) attached
- Even though the zoom is set to Auto on the Air10s/MG80 Pro, the zoom on the MG10/MG8/MG80 Pro does not track changes in the lens's angle of view.
- How to use the wireless remote shutter with the MG10/MG8
- Attaching/detaching to/from the camera is not working well.
- What should I check when the Air10s or MG80 Pro (Commander Mode) is not communicating (cannot be controlled)?
- The rotation of the light intensity adjustment dial does not match the change in the light intensity setting.
- How to reset the Air10s
Q. Precautions for attaching our products to the GH5
Applicable models: Air10s, Air1
Our products with locking buttons (one-touch type) cannot be tightened after attachment to the camera, so the metal plate of the mounting foot is made slightly thicker than that of the camera manufacturer's genuine flash to ensure a snug fit.
Our Four Thirds products are compatible with both Panasonic and Olympus cameras; however, since the hot shoe dimensions (the height between the left and right rails) differ slightly, they are a bit tighter on Panasonic cameras.
Among Panasonic cameras, the GH5 is particularly tight (the height between the left and right rails is low), so if the hot shoe or the flash's mounting foot is even slightly dirty, it may be physically impossible to attach.
Therefore, if you cannot attach our flash to the GH5, please try inserting it into the camera's hot shoe while pressing the flash's Unlock button. If it still does not attach, please try cleaning the camera's hot shoe and the flash (commander) foot. (Please refer here for cleaning instructions.)
After attaching the flash, gently pull it toward you without pressing the Unlock button; if it does not come off, it is attached in the correct position.
If it comes off, it is possible it was not inserted fully.
Red text added on 2017/9/11.
Q. Precautions for attaching our products to the D5600
Applicable models: Air10s, Air1, AirR
We have received reports that when attaching our flash or NAS commander (Air 1, Air10s) to the Nikon D5600, it is too tight and difficult to attach, or cannot be attached at all.
Our products with locking buttons (one-touch type) cannot be tightened after attachment to the camera, so the metal plate of the mounting foot is made slightly thicker than that of the camera manufacturer's genuine flash to ensure a snug fit.
Among Nikon cameras, the D5600 is particularly tight (the hot shoe is narrow, and the height between the left and right rails is low), so if the hot shoe or the flash (commander) mounting foot is even slightly dirty, it may be physically impossible to attach.Therefore, if you cannot attach our flash to the D5600, please try cleaning the camera's hot shoe and the flash (commander) foot. (Please refer here for cleaning instructions.)
However, if you cannot even insert the tip of the mounting foot into the hot shoe, there is a possibility of a defect such as a deformed hot shoe or mounting foot.
Also, if the camera or flash (commander) is new, repeated attaching and detaching will help the hot shoe break in, making it easier to attach.
When detaching the flash, be sure to press the Unlock button all the way in; failing to do so may cause the mounting foot to break.Furthermore, if the hot shoe is tight, do not force it to remove it all at once, as it may suddenly release and cause unexpected injury. Please remove it slowly and bit by bit.
Q. Why does the Air10s/MG80 Pro (Commander Mode), unlike the Air1, not support rear-curtain sync photography on Canon cameras?
Applicable models: Air10s / MG80 Pro
In the Air10s and MG80 Pro (Commander Mode), to enhance functionality and stabilize communication quality, the device is fixed in the same state as the Air1's MODE2. Therefore, just like the genuine ST-E3-RT, rear-curtain sync photography is not supported. It cannot be set from the camera either. This is due to hardware specifications, so rear-curtain sync will not be supported via future firmware updates. Thank you for your understanding.
If you wish to use rear-curtain sync photography, please use our conventional model, the Air1.
Q. What happens when paired with devices that do not support 1/3 EV step light intensity control, such as the Di700A or AirR?
Applicable models: Air10s / MG80 Pro
However, since the light control step width depends on the flash's specifications, it will change in 1/2 EV steps in TTL mode and 1 EV step in manual flash mode. The display step width on the Air10s or MG80 Pro (Commander Mode) will not change, and the flash will be set to the nearest approximation.
Additionally, models that cannot adjust light intensity in 1/3 EV steps also cannot set the flash zoom to 28mm, so it will be set to 24mm instead.
*By updating the AirR to the latest firmware, 1/3 EV step light intensity adjustment and 28mm zoom settings will become possible.
Note that because the Canon-version Air10s and MG80 Pro (Commander Mode) do not support rear-curtain sync, if you wish to use rear-curtain sync on a Canon camera, please use the Air1 (discontinued).
Q. When using manual flash in high-speed sync (FP flash/HSS mode), I cannot set the light intensity below 1/32. Is this a malfunction?
Applicable models: All commanders and flash models
This is normal behavior based on the unit's specifications.
Q4-01
Q. How to insert batteries
Applicable models: Air10s / Air1 / AirR
If you thought, "Huh? Why now??" you might already know the drill. It is all written in the manual, but since people might be in a rush or not used to it, let's go over it again here.
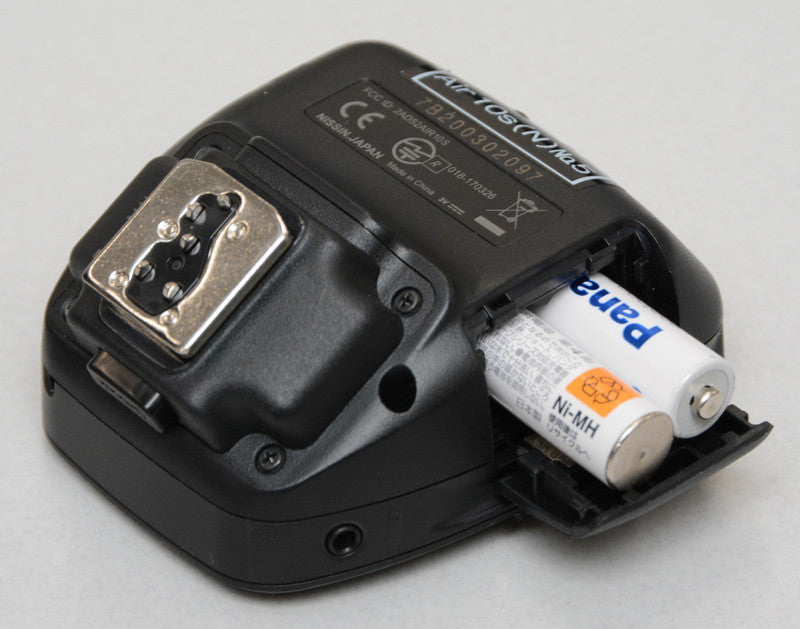 The Air10s, Air1, and AirR all operate on two AAA batteries.
 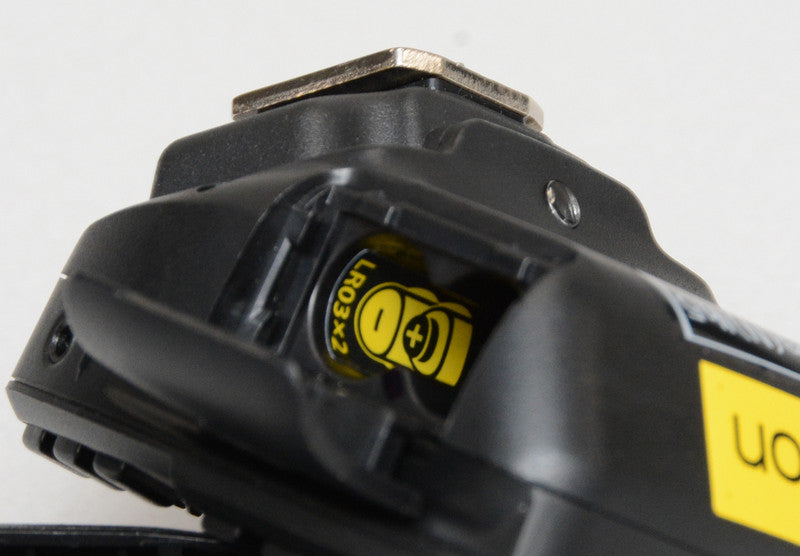 The insertion direction is indicated by a sticker inside the battery compartment... though it might be a bit hard to see.
  When viewed from the front, the battery on the back side should have the plus side facing left (towards the cover), and the one on the front side should have the minus side facing left.
 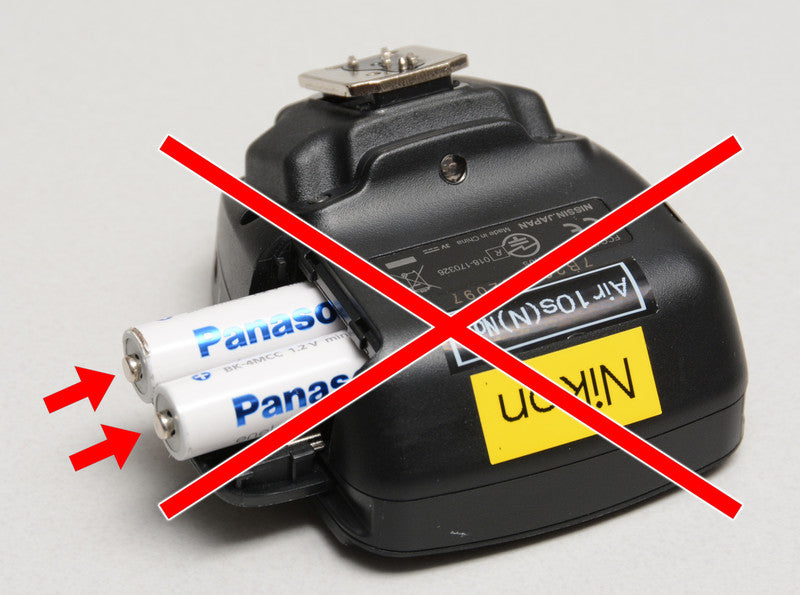 The unit will not work if both are inserted in the same direction.
 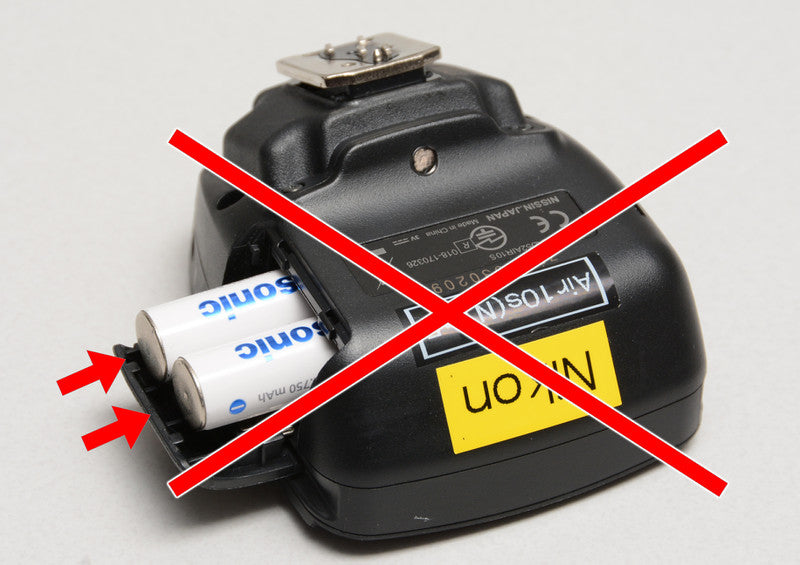 Naturally, it won't work in reverse either. They shouldn't be in the same direction!
 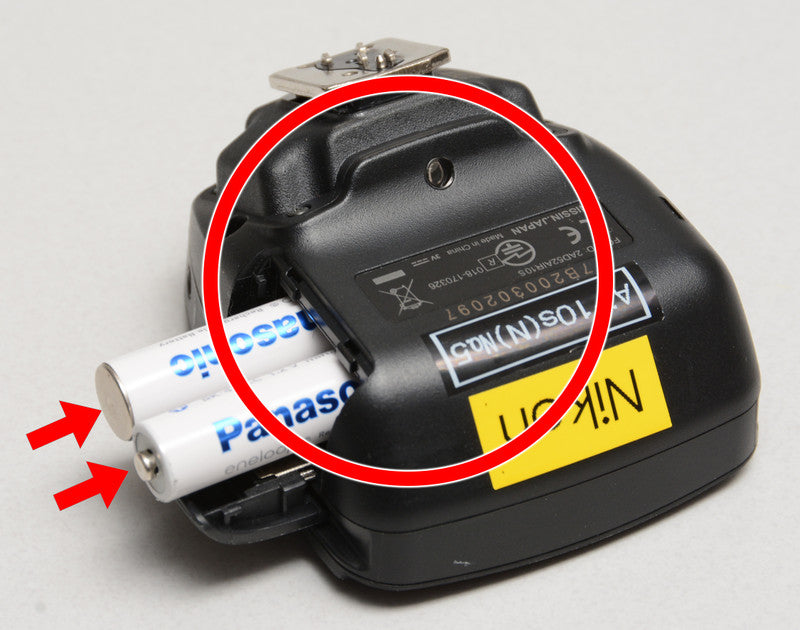 Make sure they are inserted in opposite directions.
When in a hurry, it happens "quite frequently" that batteries are inserted in the wrong direction or both in the same direction. Don't rush; first, take a moment to check the insertion direction.
Q. What to do if the battery cover comes off
Applicable models: Air10s / Air1 / AirR
Actually, the cover is designed to be removable. So if only the cover came off, you can simply snap it back into place carefully.
Don't panic if the cover falls off.
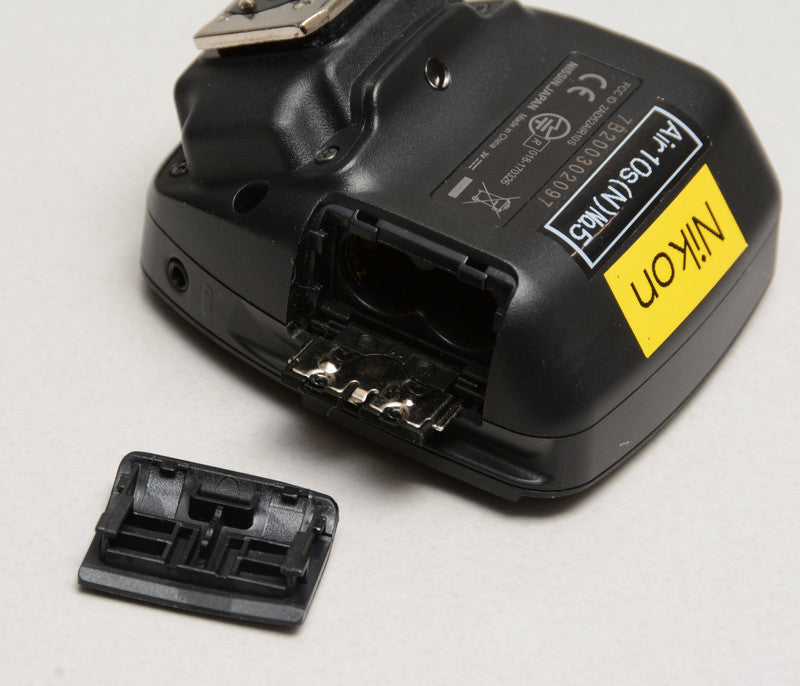 If the part is not broken, it will go back on just by snapping it in place!
 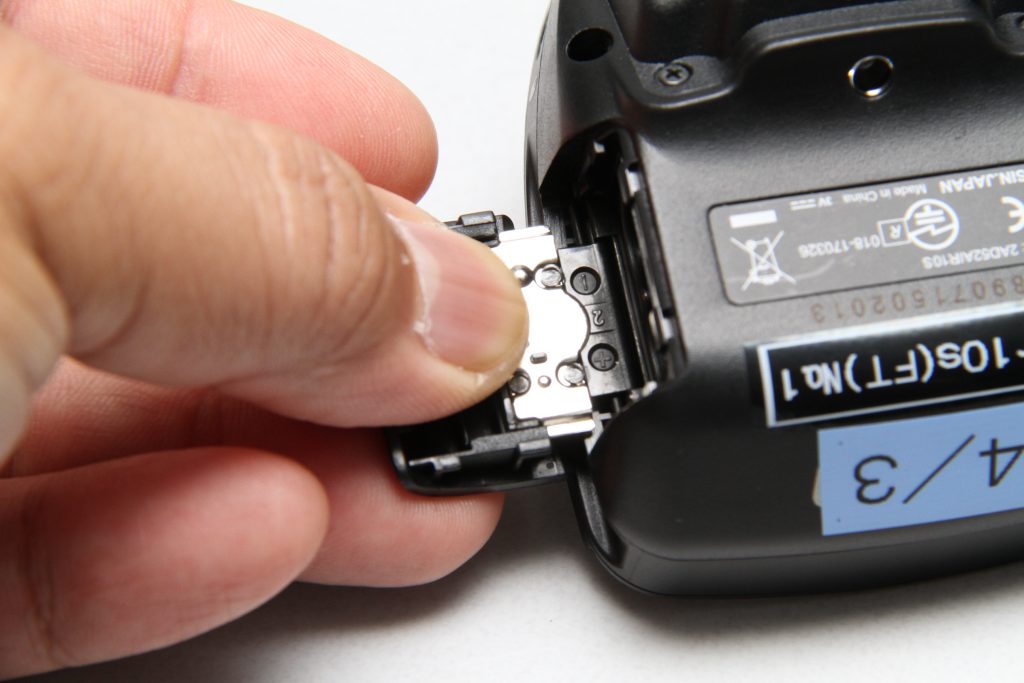 Position the cover so the tabs sit on the rails on both sides of the battery terminal...
 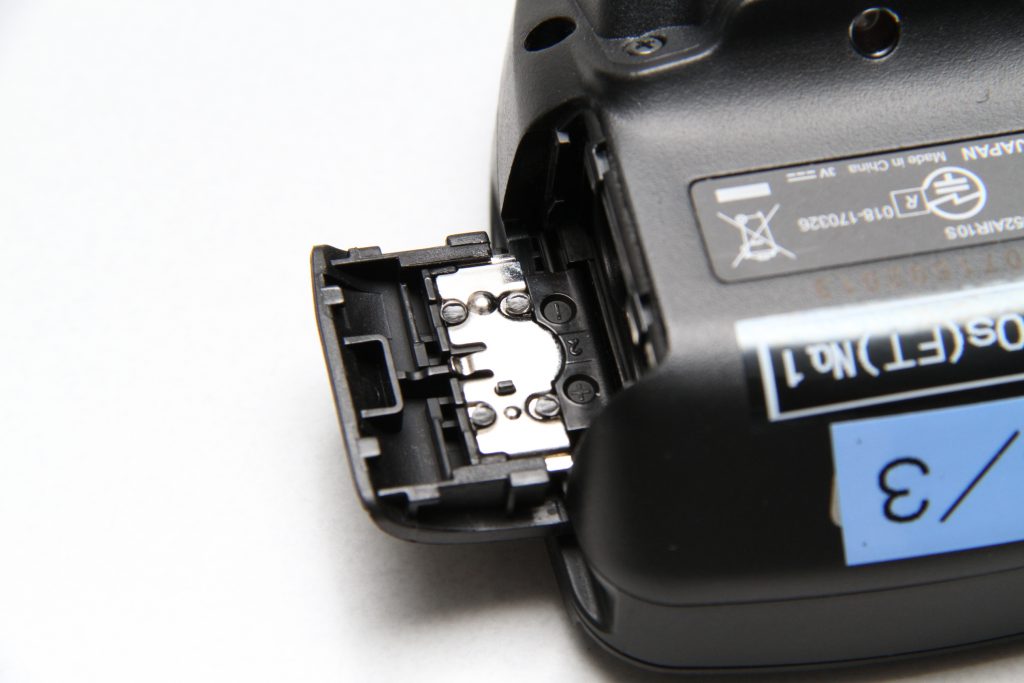 then push it all the way in, and it's fixed.
This battery cover is a shared part across the Air10s, Air1, and AirR models.
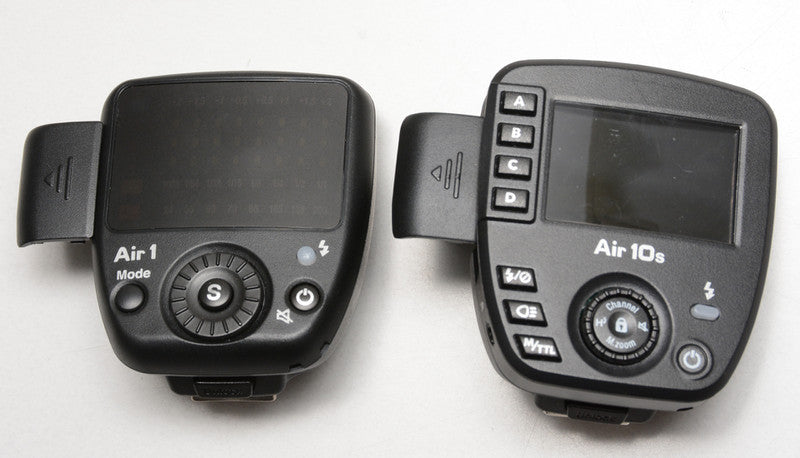 If you happen to break or lose it, we sell the cover separately at our Nissin Digital Direct Amazon store, so please take advantage of that.
Q. I cannot fire a flash mounted on an AirR from a camera with an Air10s or MG80 Pro (Commander Mode) attached
Applicable models: Air10s / MG80 Pro / AirR
If the AirR's firmware is old (the version not supporting 1/3 EV step control), you can temporarily downgrade the Air10s firmware to control the AirR (the MG80 Pro cannot control old-firmware AirR units even if downgraded), but advanced modes like Advanced Mode, OPEN Mode, or Remote Shutter Mode on the MG80 Pro/MG10/MG8 will not function properly. Therefore, you will need to update the firmware as necessary.
For information on how to update firmware, please refer to the Air10s product information page or the MG80 Pro product information page.
Q. Even though the zoom is set to Auto on the Air10s/MG80 Pro, the zoom on the MG10/MG8/MG80 Pro does not track changes in the lens's angle of view.
Applicable models: Air10s / MG10 / MG8 / MG80 Pro
When Auto Zoom is set on the Air10s or MG80 Pro (Commander Mode), if the flash head of the MG80 Pro (Slave Mode), MG10, or MG8 is pointed in any direction other than straight forward (or the shutter button side for MG10/MG8), including tilting it down by 7 degrees, the zoom will be fixed at 50mm. It will not track the lens's focal length.
Also, the hole about 1mm in diameter at the bottom of the flash head (near the serial number label) and the corresponding hole that faces it when the head is facing forward act as a head position sensor, so please do not cover these holes with labels or other items.Note that it is possible to disable Auto Zoom on the Air10s or MG80 Pro and set a manual zoom angle.
Q. How to use the wireless remote shutter with the MG10/MG8
Applicable models: MG10 / MG8
Note 1: You cannot trigger multiple cameras simultaneously using the shutter button on a single MG10/MG8.
Note 2: If multiple MG10/MG8 units set to "◎" are nearby, radio interference may occur, making the wireless shutter unusable. For units not using this function, either turn them off or change them to a different group.
Note 3: If the Air10s firmware is a version that does not support the MG10/MG8, the remote shutter function cannot be used. Please refer to the "Firmware Update" tab on the Air10s product information page and update to the latest firmware.
Q. Attaching/detaching to/from the camera is not working well.
Applicable models: Air10s / Air1 / i60A / i600 / i40 / i400 / Di700A
Always press and hold the lock release button when attaching or detaching.
[How to attach]
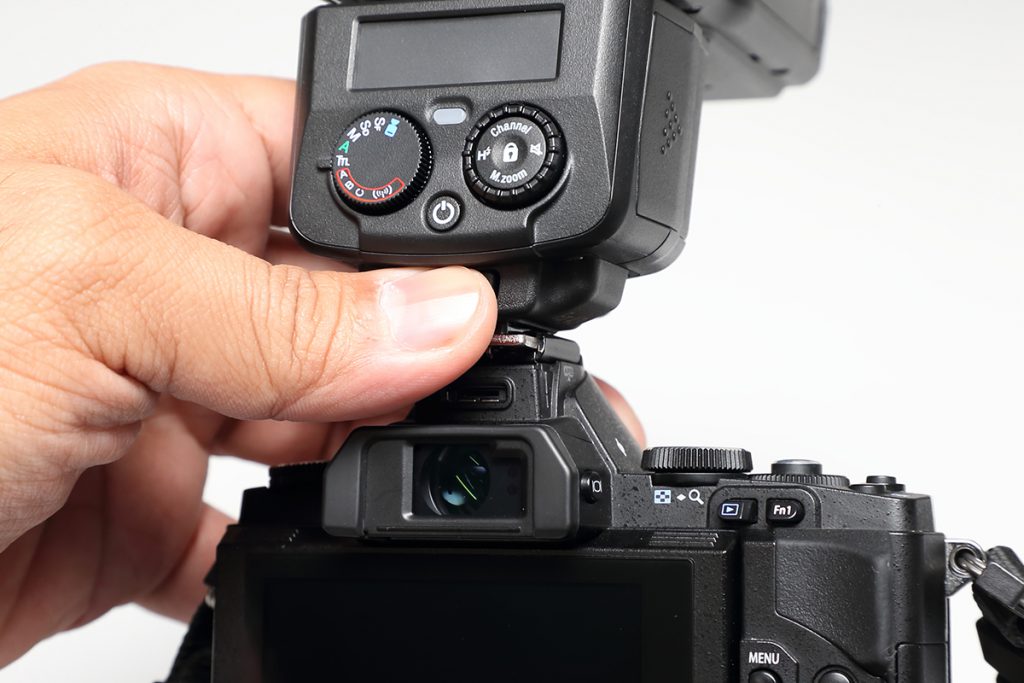 When attaching, press and hold the lock release button labeled "PUSH" on the bottom of the unit, and slide it straight into the camera shoe.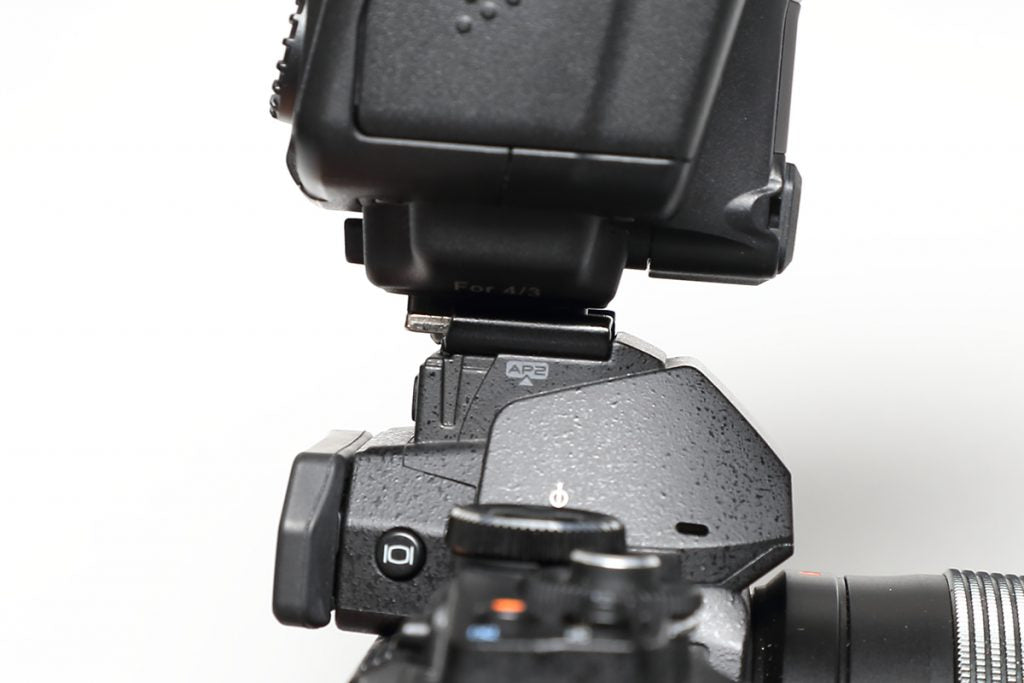
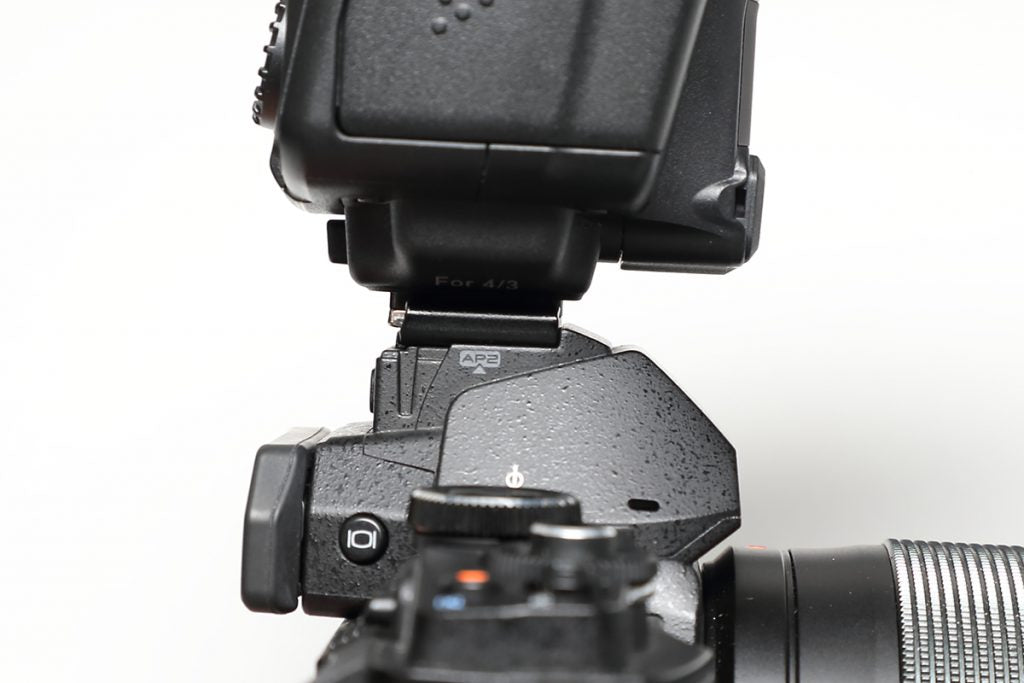 Always ensure it is inserted fully. There may be differences in ease of attachment depending on the model.
The photo above shows an example where it stopped halfway because it felt stiff, resulting in it being half-inserted.
In this state, not only will it not fire, but it is not locked, creating a risk of it falling off.
Press the lock release button and ensure it is inserted all the way in.
[How to detach]
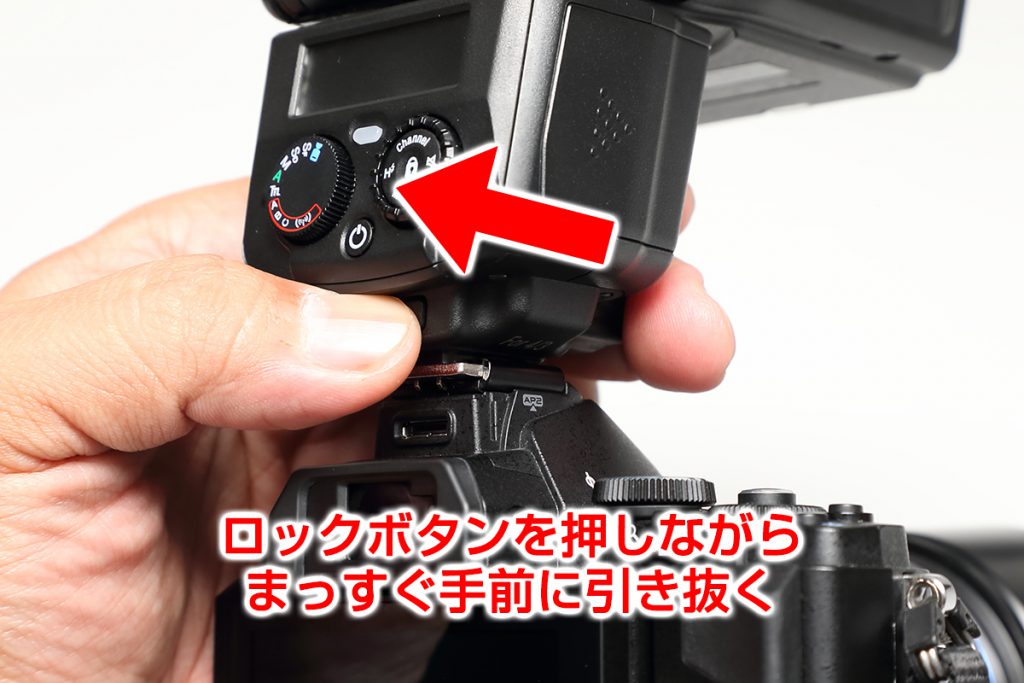 While pressing the lock release button labeled PUSH, place your finger on the front of the flash and pull it straight out. (It may be quite tight depending on the model.)
Q. What should I check when the Air10s or MG80 Pro (Commander Mode) is not communicating (cannot be controlled)?
Q. The rotation of the light intensity adjustment dial does not match the change in the light intensity setting.
Applicable models: Air10s / i60A / MG60 / MG80 Pro
The setting value changes only slightly when the dial is rotated quickly
When the flash or commander is attached to the camera, if the light intensity adjustment dial is moved quickly, the communication specs may prevent it from tracking correctly; please try rotating it a bit more slowly.
The setting value does not change, jumps abruptly, or changes in the opposite direction when rotating the dial slowly
If the electrical contacts inside the dial have poor connectivity due to dirt or oxidation, it may cause malfunctions.
For the Air10s and i60A, we released firmware to reduce malfunctions in February and [Month] 2021 respectively, so if you are using a unit with old firmware, we recommend updating to the latest version.
How to check the Air10s firmware version and update:
Please refer to the "Firmware Update" section on the Air10s product information page.
How to check the i60A firmware version and request an update:
Please refer to the "Firmware Update" section on the i60A product information page.
Note: If malfunctions persist even with the MG60, MG80 Pro, or the latest firmware on the Air10s or i60A, please request a repair.
Also, if there is clearly abnormal behavior, such as gaps in the light intensity bar graph, please try resetting the product or replacing the batteries.
Q. How to reset the Air10s
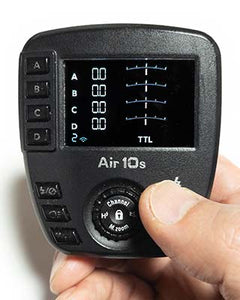
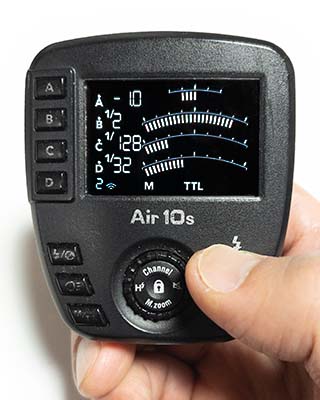
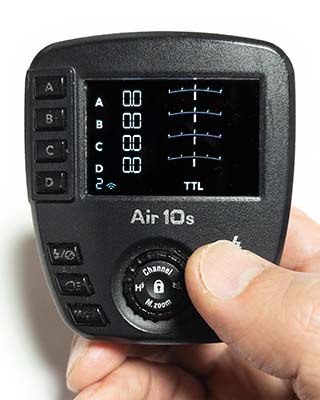
Air10s Reset (Method 1)
- With the power on, long-press the pilot lamp for more than 5 seconds.
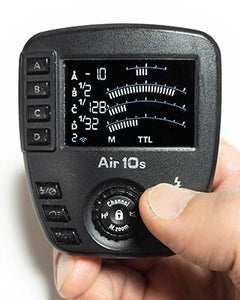
- Reset is complete when the Advanced or TTL mode display switches to 0.0 (no compensation), or to 1/256 intensity in M mode, and you release your finger.
- Pairing information is not deleted during a reset, so you generally do not need to perform the pairing process again. Only do so if the commander and flash are not syncing properly.
Air10s Reset (Method 2)
- With the power on, long-press the power on/off button for more than 3 seconds.
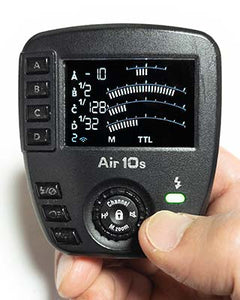
- Reset is complete when the firmware version is displayed on the screen and you release your finger.
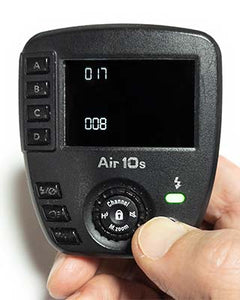
- Pairing information is not deleted during a reset, so you generally do not need to perform the pairing process again. Only do so if the commander and flash are not syncing properly.